The Lists section allows for more comprehensive due diligence, facilitating better knowledge of clients, counterparties, and users at both national and international levels through integration with Quién es Quién. This helps determine whether a person or entity poses a risk or requires differentiated handling.
→ This functionality is available starting from the Starter plan by purchasing an add-on for the AML management system, integrating Quién es Quién with Pirani. If you do not already have Quién es Quién, you can acquire the add-on along with query packages tailored to your needs.
How to integrate with Quién es Quién?
Go to “Manage System Organization” and then select “Security.”

Select “Public Applications” and “Quién es Quién.”

Complete the fields to perform the integration and select “Connect.”
Connect the Q-Detect API to carry out compliance (AML/CFT) checks directly from the platform.
BASE URL: URL of the production or pre-production environment.
Username: The username used to perform queries.
Client ID: This value is automatically generated in Q-Detect, in the Security ID section, when the account is registered. The authentication token will be automatically generated with each query.
Secret ID: This value is automatically generated in Q-Detect, in the portal’s Security ID section. The authentication token will be automatically generated with each query.
Once connected, go to the Lists module.

How to perform a Lists search
List screening has been optimized for greater ease of use:
- It is not necessary to have the ID type or identification number.
- Searches are conducted by name, allowing for international, national (Mexico), or compliance queries.
- It is not limited to individuals: you can also search for legal entities/companies.

How does the reliability index work?
The reliability index determines how strict the match will be between the searched name and the results found in the lists. It is mainly used when the search is performed by name.
Example:
- If you set the index to 100%, the system will only return exact matches.
- If you set it to a lower value—60% by default—the platform will allow variations based on your search, with the aim of finding more matches

How do sanctions lists work?
Within the search, you can classify sanctions lists according to different criteria to adjust the scope of the results.
Classification by source
You can select all sources or filter your search by:
- Compliance lists
- International lists
- National lists (Mexico)

List collections
Once the source is selected, this field will update to display only the lists that match your selection. You can choose specific lists or keep them all active for a broader search.
⚠️ If you do not select any source in the previous step, this field will not display any options.

How does advanced search work?
Advanced search allows you to obtain more precise results by complementing your query with additional information. All fields are optional and can be completed based on the information available:
- Identity type: Filters by individual or legal entity/company.
- RFC: Enter the Federal Taxpayer Registry number to identify individuals or legal entities in Mexico.
- CURP: Enter the Unique Population Registry Code to locate Mexican individuals.
- Alias: Specify an alternative name or nickname by which the subject is also known.
- Nationality: Indicates the country of origin or citizenship of the subject.
- Passport: Enter the travel document number to identify individuals at an international level.

Search results
Once you have completed the information, select “Search.”

The system:
- Processes the search by categories.
- Displays the number of lists consulted and the results found.
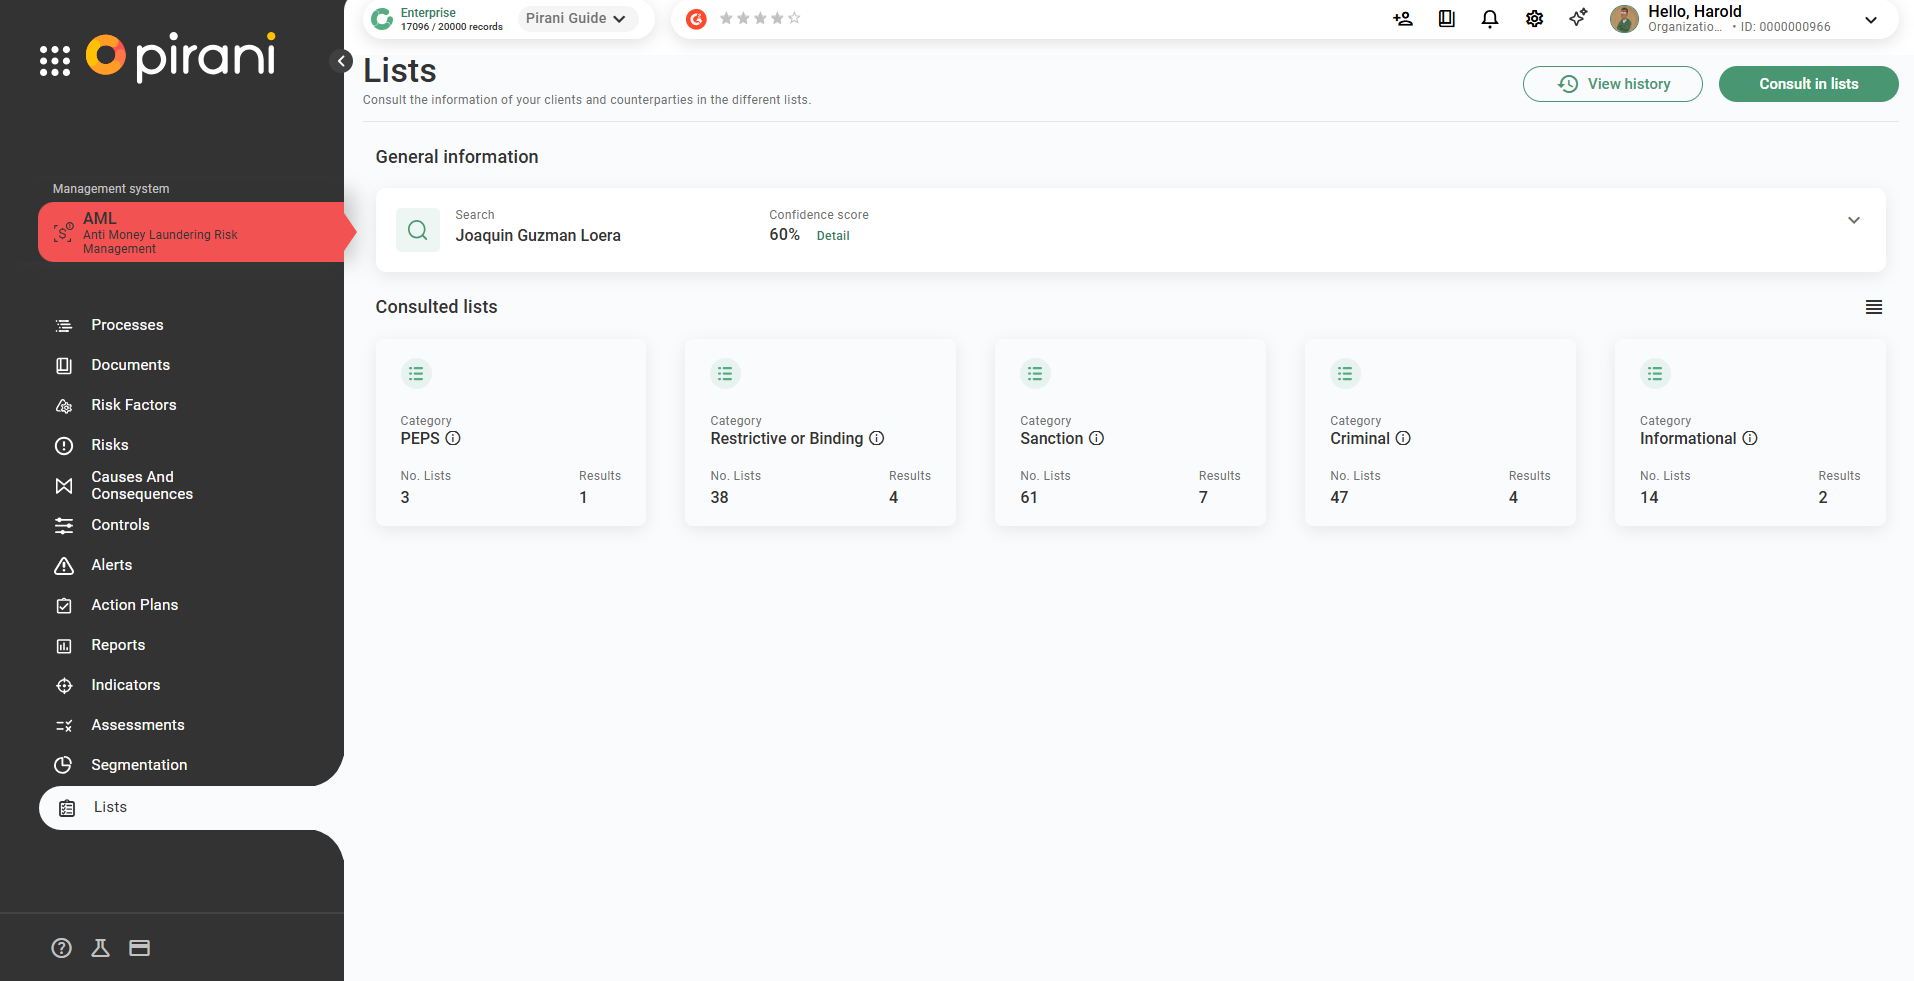
By selecting “Details,” you will be able to view all the search lists.

By entering each category, you will be able to see:
- The name of each list within that category in which the user was searched.
- The results indicate whether a match was found in that source. Additionally, attachments are included, and information is also displayed in tables for other matches as well as for those with no results.
If a key source appears unavailable, we recommend trying again later to allow the list to become operational.

To explore a list and its results in more detail, click on the list of interest. There, you will find links, documents, and information that will allow you to expand and complement the data, supporting decision-making regarding how to manage the consulted user.

How can you review previously managed searches?
Within the Lists section, go to the right side and click the “Search History” button. There, you will be able to find all previously performed searches, as well as filter them by their respective dates, number of results, and type of query.

How to configure list parameterization?
To integrate the Lists module with risk factors and alerts, it is necessary to perform a configuration that ensures the data displayed in the list results corresponds to the same name assigned within the organization. It is also required to assign a responsible user who will be notified of alerts created from the Lists module.
To do so, click the gear icon in the top bar, select the AML option, and then click on the Lists section.

Here you can select the person responsible for managing alerts and specify that the data displayed in the findings corresponds to a field within the risk factors.
For example, you can indicate that a person’s national ID is equivalent to a DNI, so the tool can properly align the data found with the existing records.
