The assessments module is available for all management systems, however, it is not cross-cutting between systems, because of that it is necessary to create an assessment plan for each of them.
→ Remember that this functionality will be available in the Pro plan.
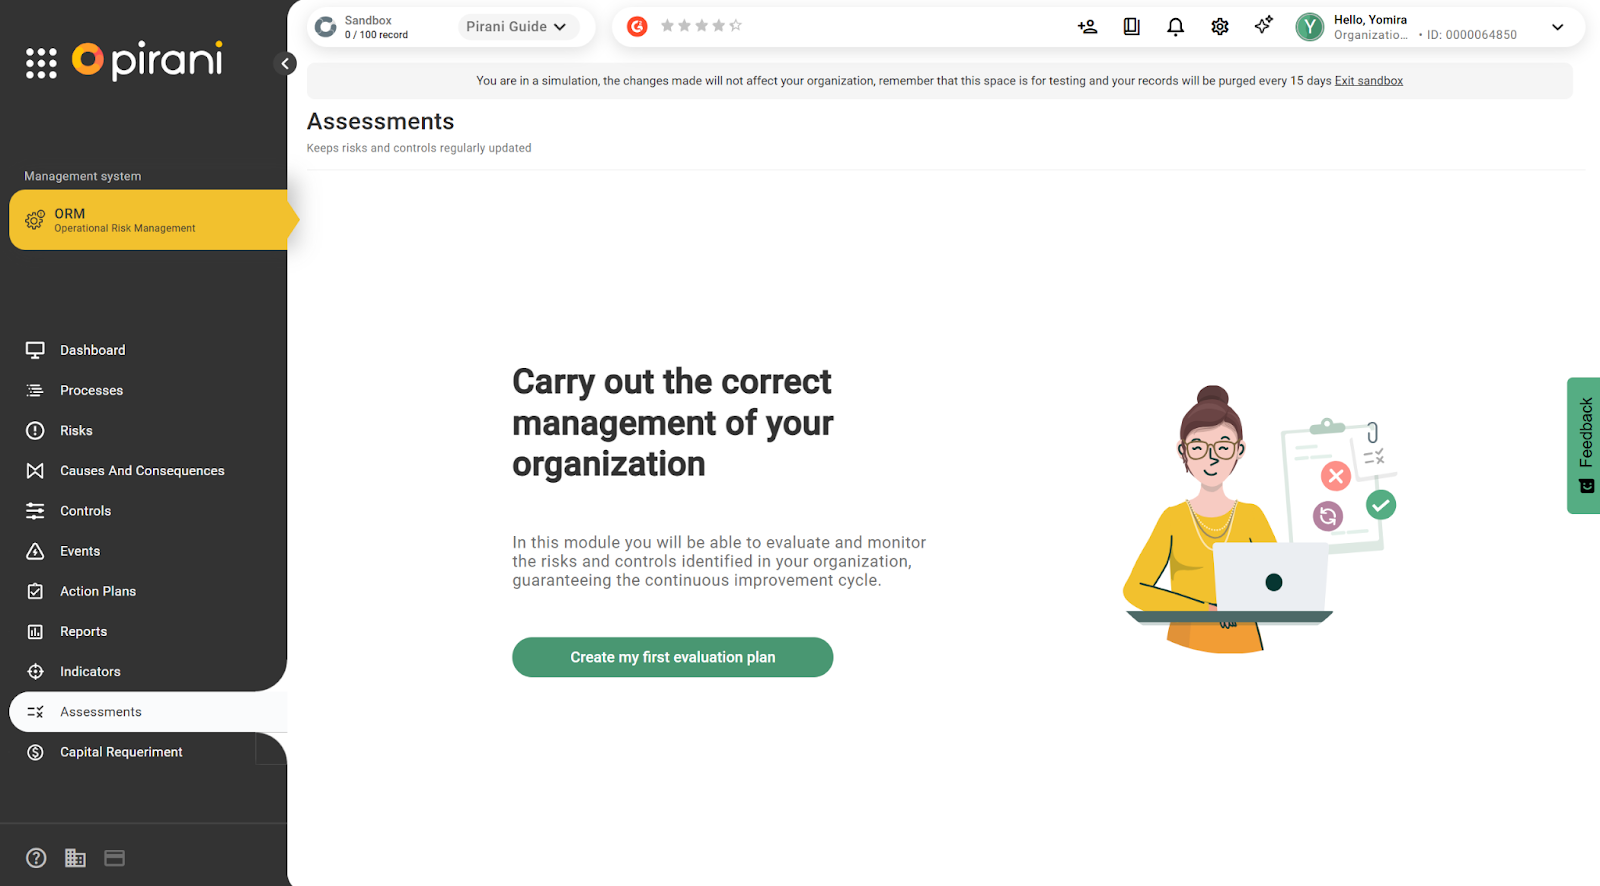
How to create my assessment?
To create an assessment plan go to the left side of the tool, select the "Assessments" module and click on the "Create my first assessment plan" button.
When you log in, you will find three sections on the left side of the box:
How to register general information?
Enter all the required data according to the assessment to be carried out.
Plan name: What your plan will be called.
Description: Detail what it consists of.
Date: Determine the time in which those responsible will carry out the evaluation.
Responsible for the plan: Designate the person in charge of supervising the process and approving the evaluation (Note: this person is not the evaluator).
Type of assessment: Choose whether it is by risks or controls.
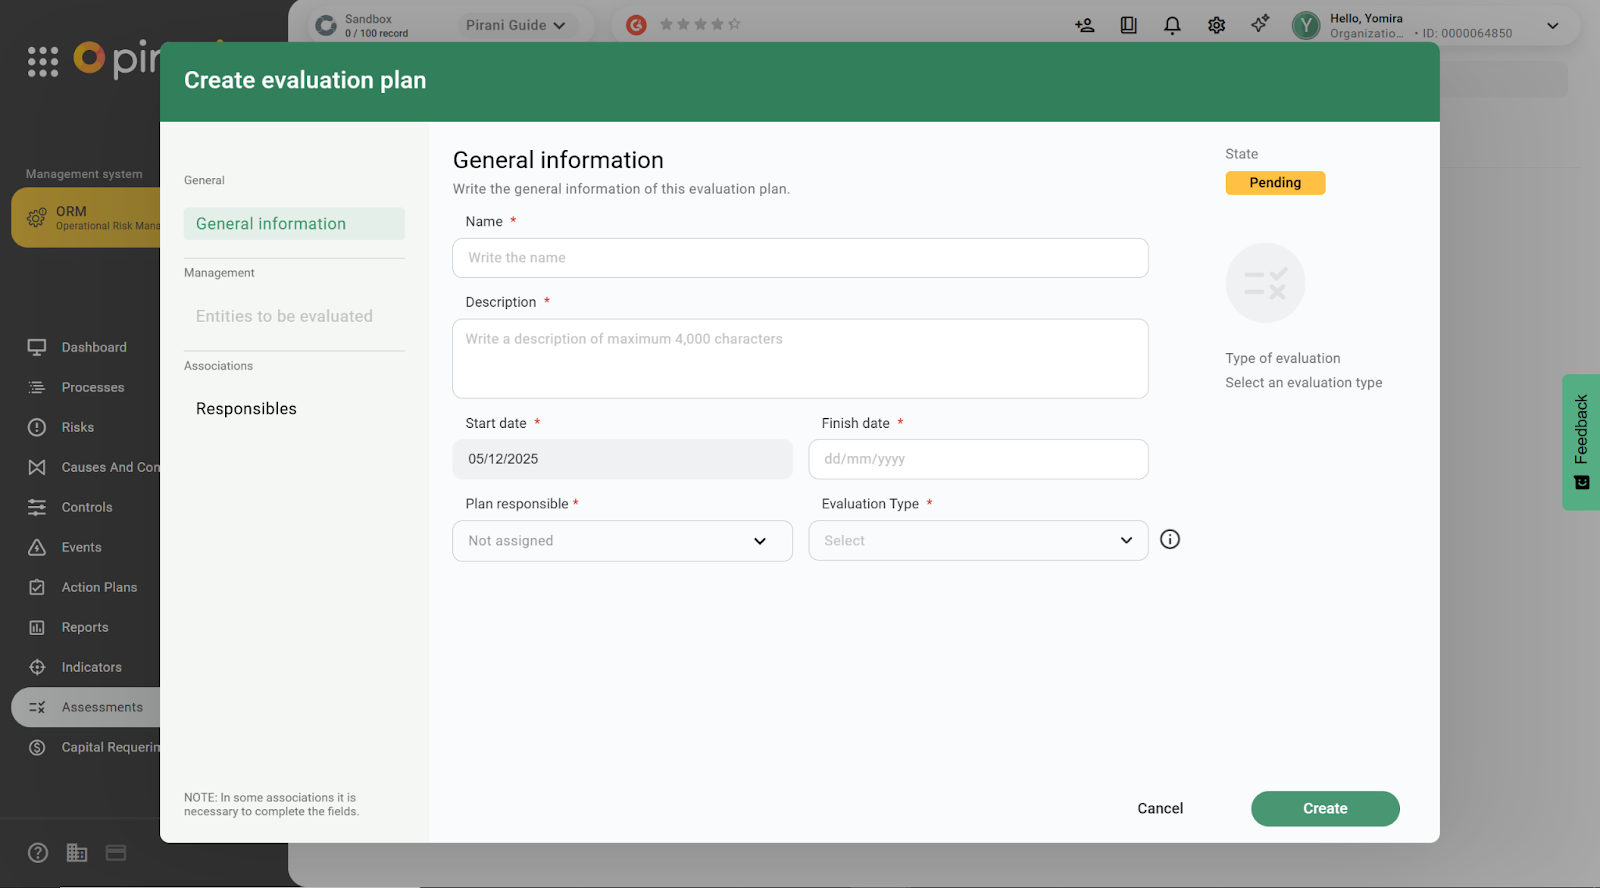
⚠️ It is important that you properly choose the type of assessment between risks and controls, as you will not be able to update it after creating the assessment plan.
%209.53.25%20a.%20m..png?width=670&name=Captura%20de%20Pantalla%202022-09-29%20a%20la(s)%209.53.25%20a.%20m..png) How to create entities to be evaluated?
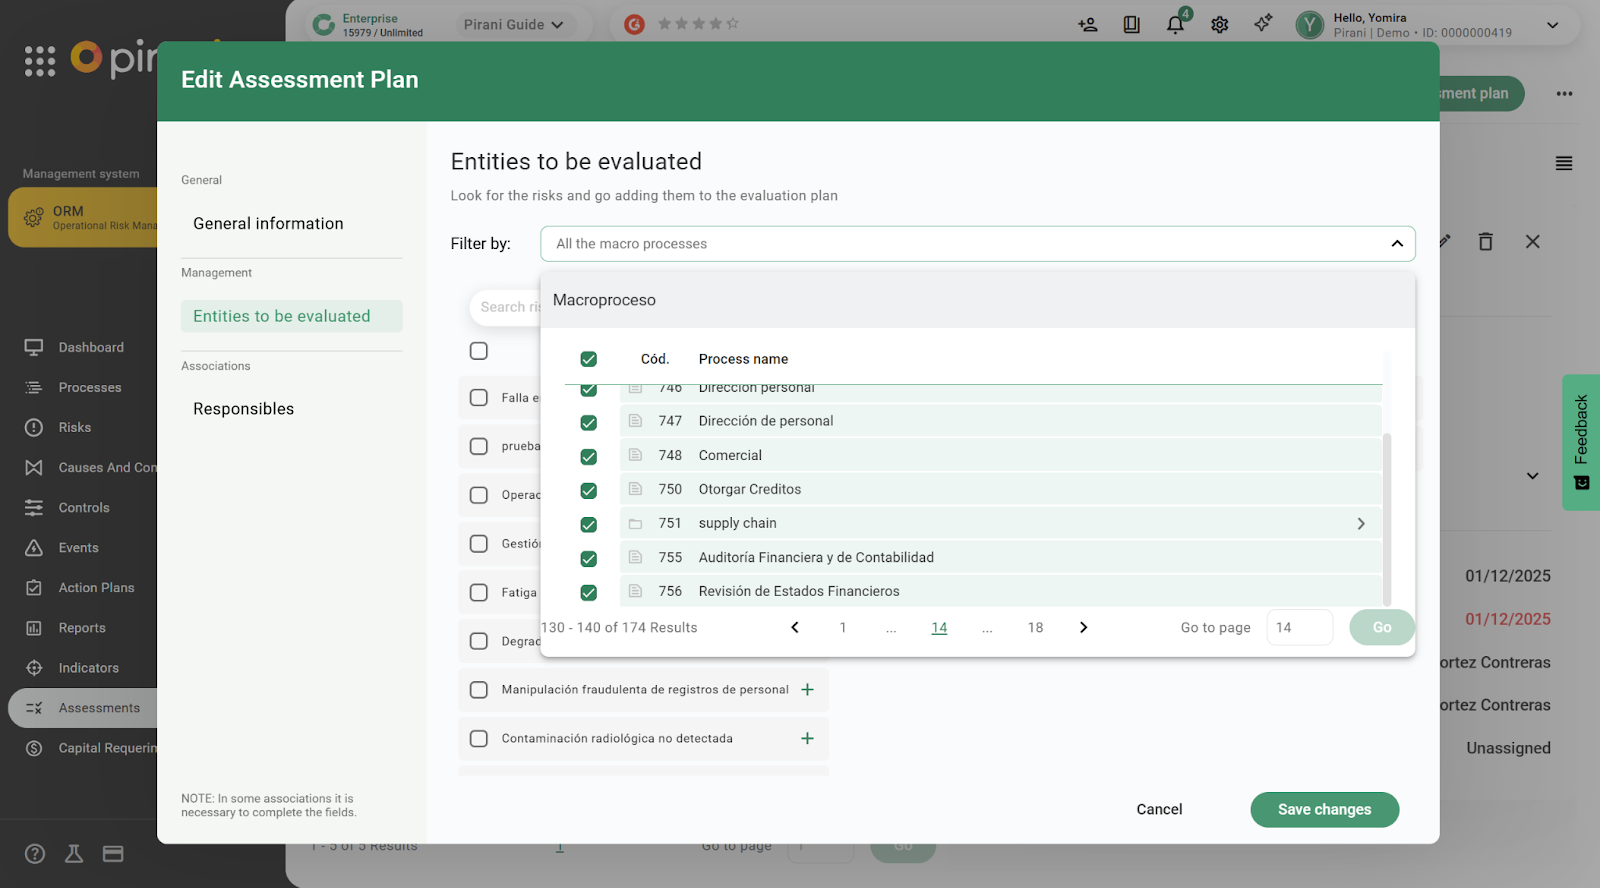
How to create entities to be evaluated?
After creating the general information we will define the scope of the assessment. Now go to the left side of the table and select the "entities to be assessed" section, you will be able to visualize all the risks available for the management system you are working on.
The assessment plan can be approached in two ways:
- Use the search engine to choose a random sample of the risks of the management system regardless of its process.
- Filter the risks by processes and in this way create the assessment plan focused on each specific process. For the latter, click on "filter by" and then narrow down the risks of the assessment plan by process.
Choose assessments by clicking on the + sign to the right of each risk name and then assign an assessor for each risk. You can assign assessors in bulk or individually:
Bulk form: In the section "risks to be assessed" click on the box on the left side of each assessment to which you want to assign the same assessor, after selecting click on the option "bulk assignment" and assign the appropriate person.
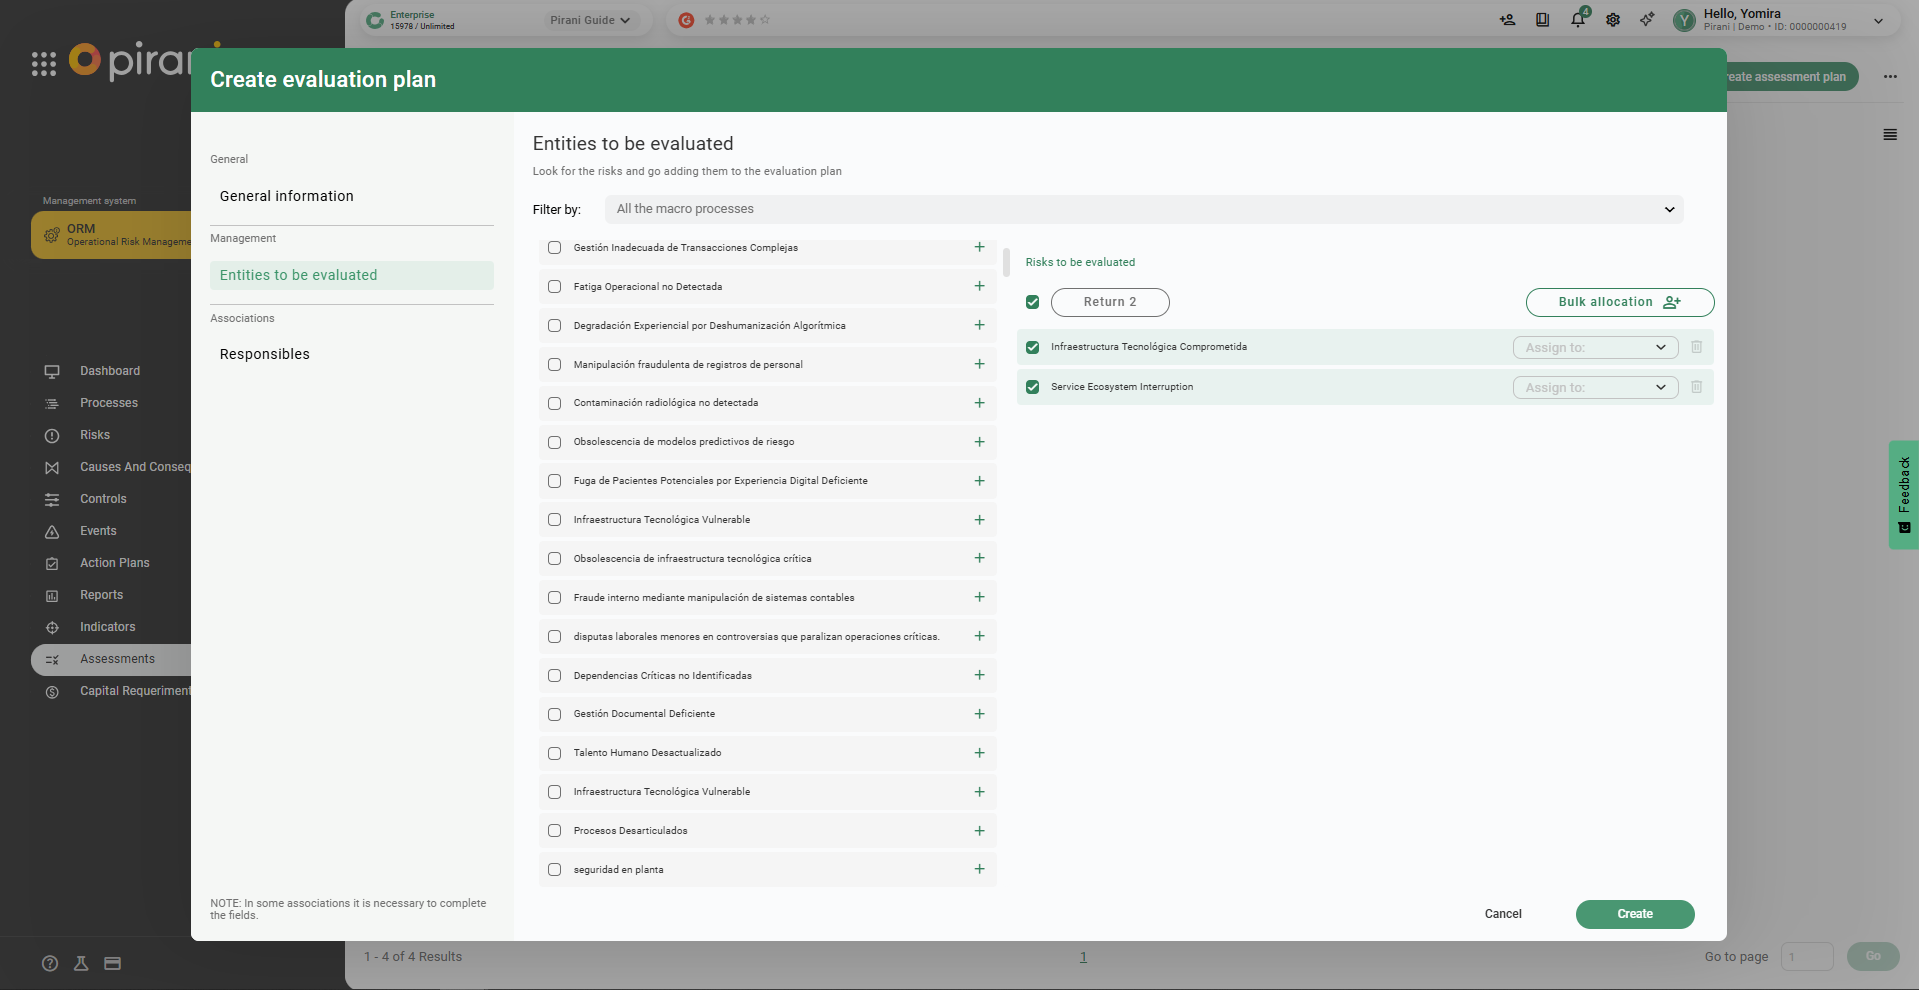
Individual form: Identify the risk to be assessed, go to the right side of the risk and click on the down arrow that appears inside the "assign to" box, the list of people will be displayed and you will be able to assign the assessor appropriately.
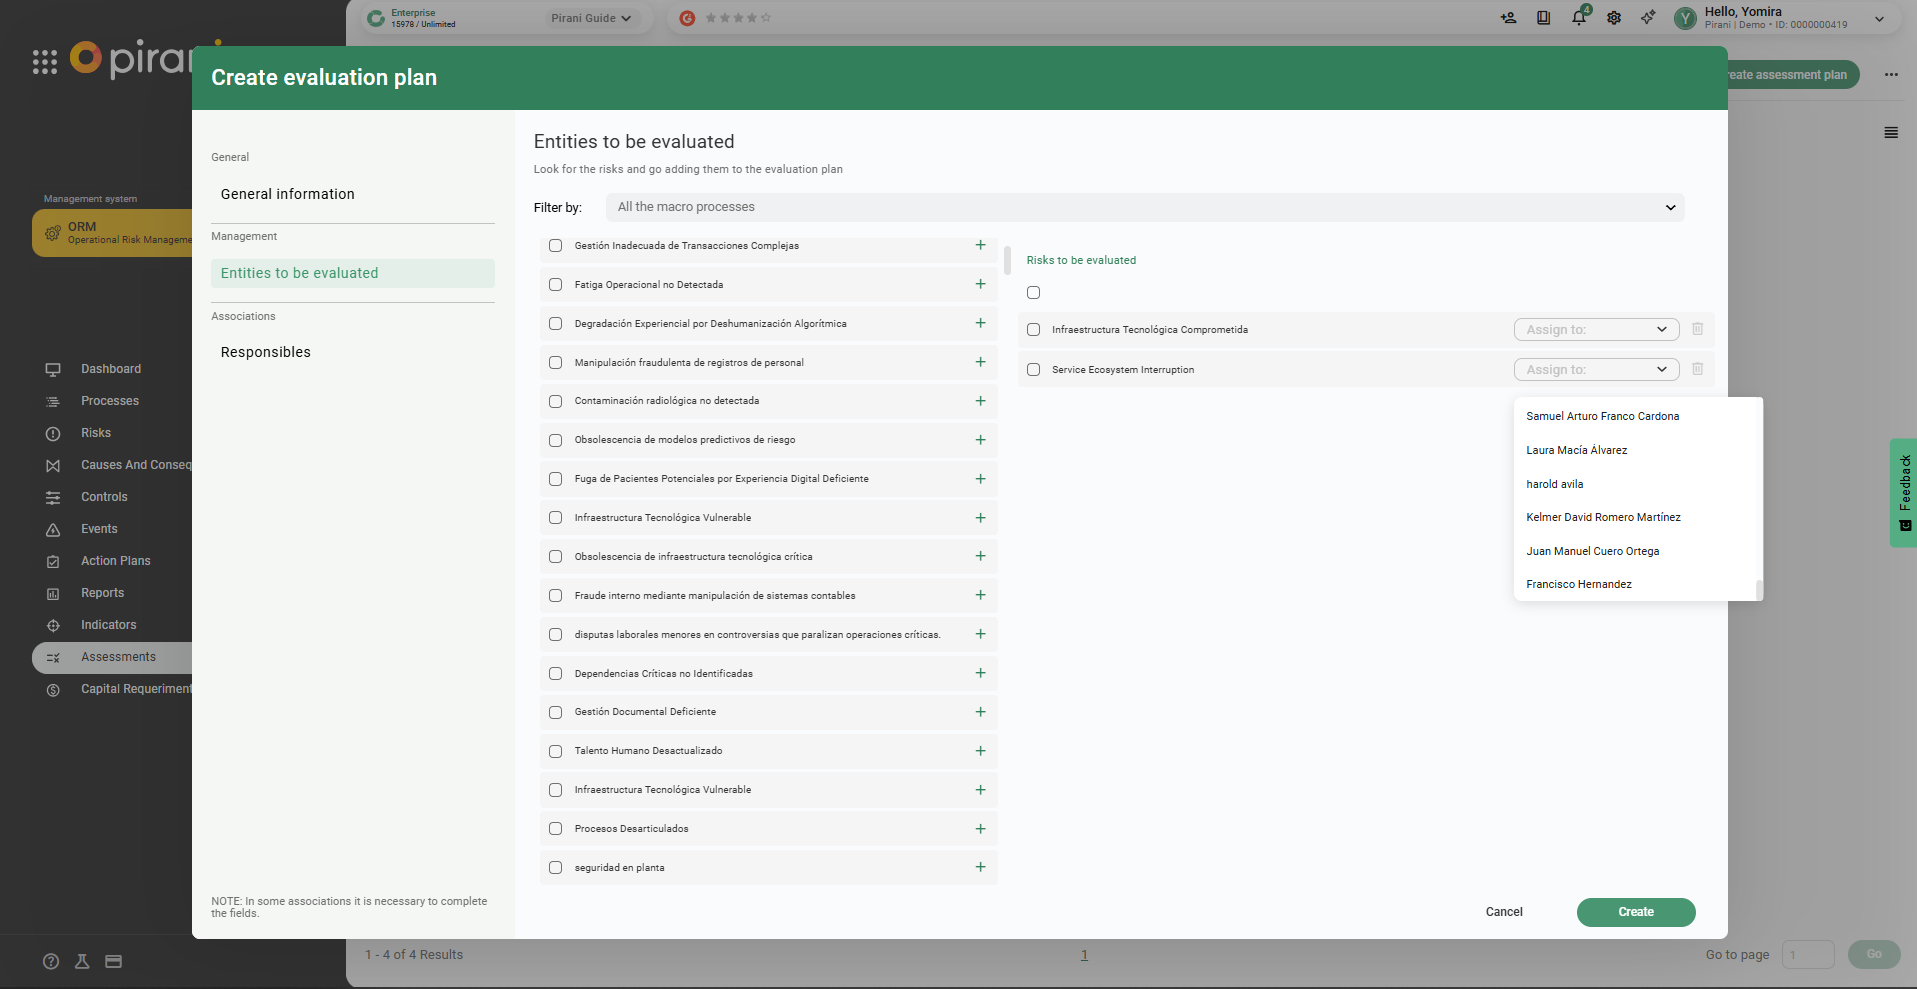
⚡ Persons assigned as evaluators will be notified via mail to perform the evaluation.
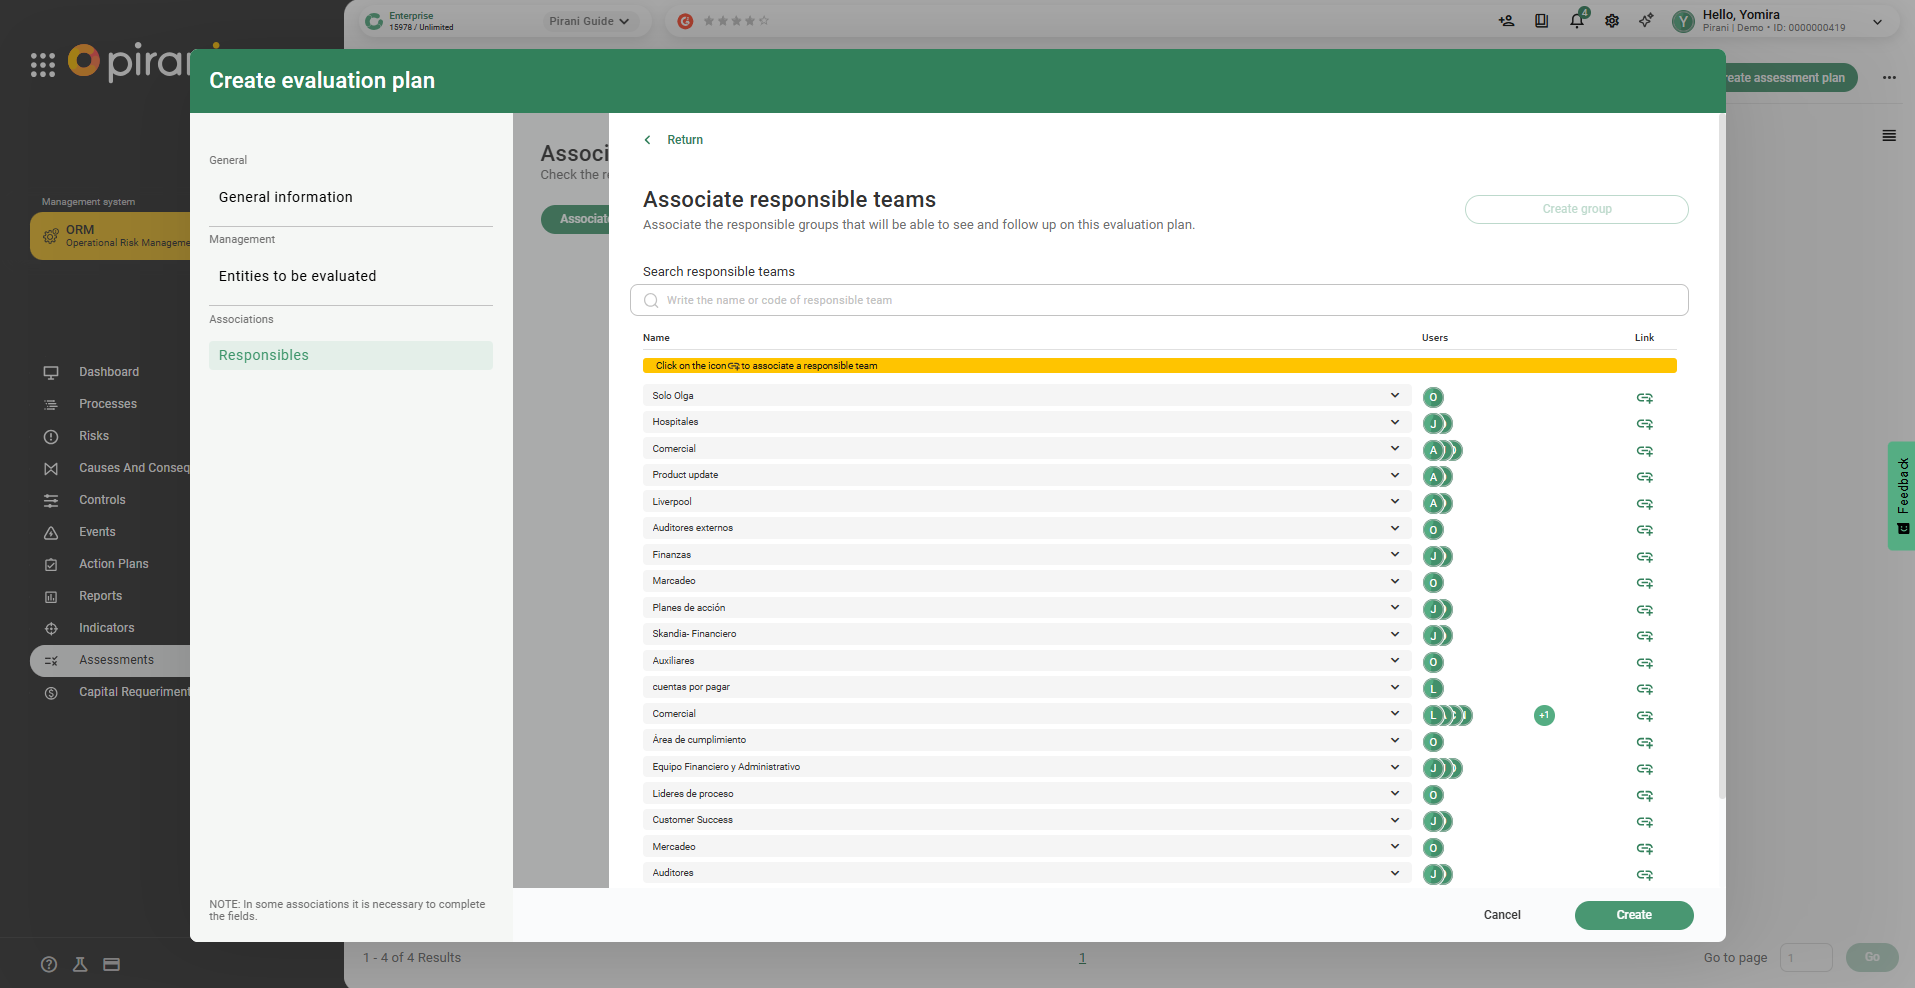
How to choose additional responsible persons?
Click on the left side in the "responsible persons" section, then click on the down arrow in the "select group of responsible persons" box and choose the group of persons you want to assign to this role.
⚡This section is useful for adding auditors or people interested in the assessment.
Finally click the "Create" button and your assessment plan is created.
⚠️ The assessment plan can have three different statuses: pending, in progress or completed.
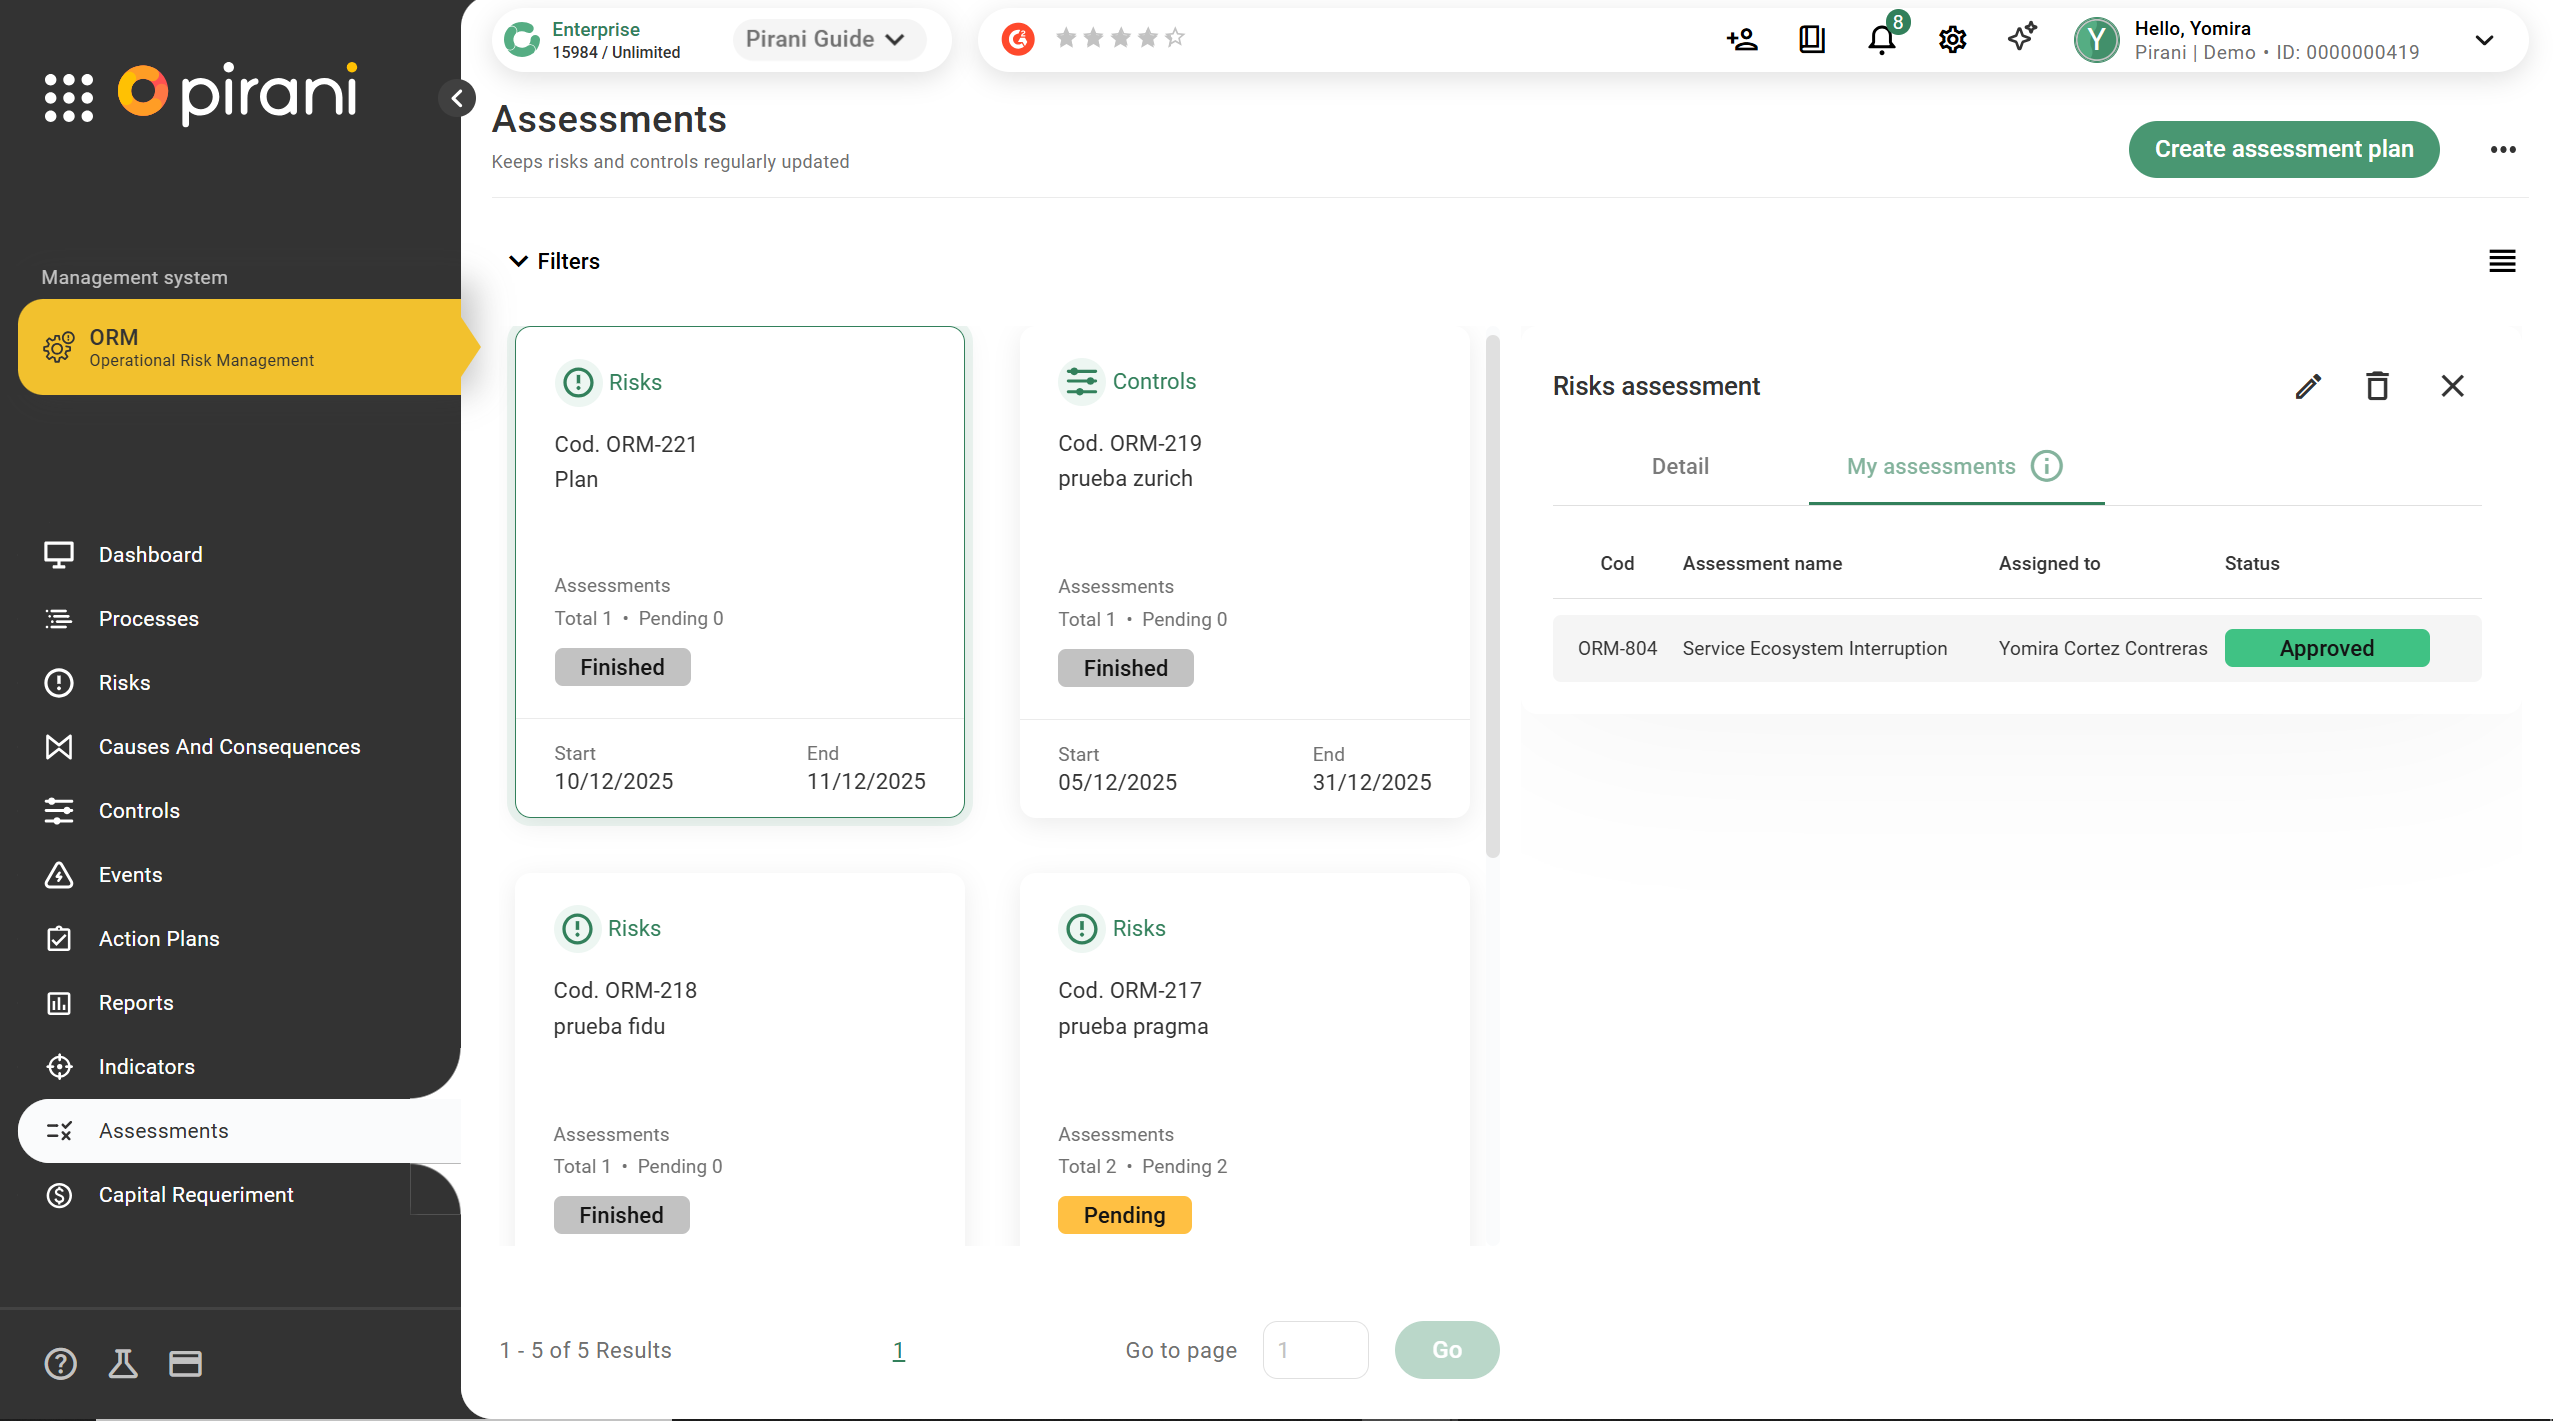
What to do if the status of the assessment plan is "pending"?
If the assessment plan has a "pending" status, it is because the assessors have not yet been assigned to the selected risks, to make the plan go to "in process" status click on the assessment plan created, then a box will appear on the right side where you will see two sections, click on the "my assessments" section. Finally identify which risk is still to be assigned, click on the down arrow on the right side of the identified risk and assign the assessor.
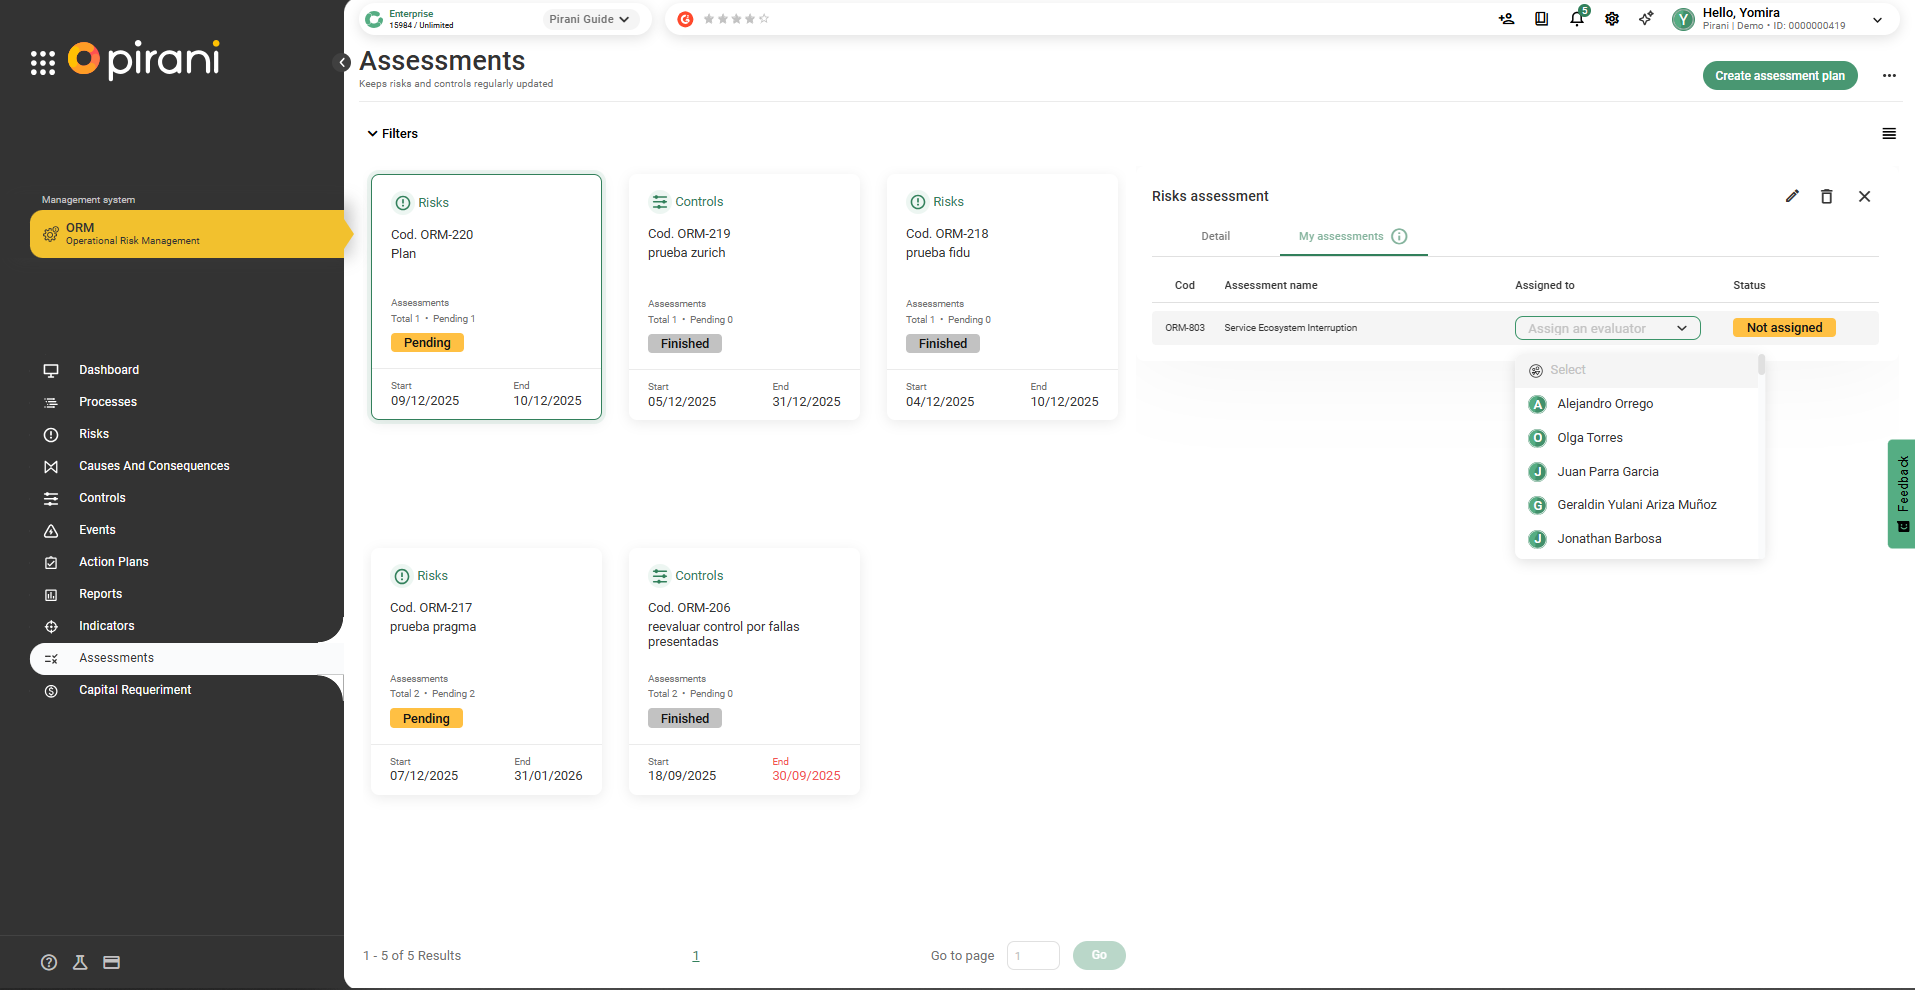
⚡Now the assessment plan is in process waiting for the assigned assessors.
How to create the assigned assessment ?
As an assessor you will receive an email notification inviting you to perform the assessment in Pirani. When you enter the software, go to the left side of the tool, select the assessment module and click on the assessment plan that appears. Then a new section will appear on the right side of the screen, in it you will find two options, click on the "my assessments" option, there you will be able to see only the assessments that have been assigned to you within the plan.
⚠️ Individual assessments have different statuses: unassigned, under assessment, under review, returned and completed (Pass/Fail).
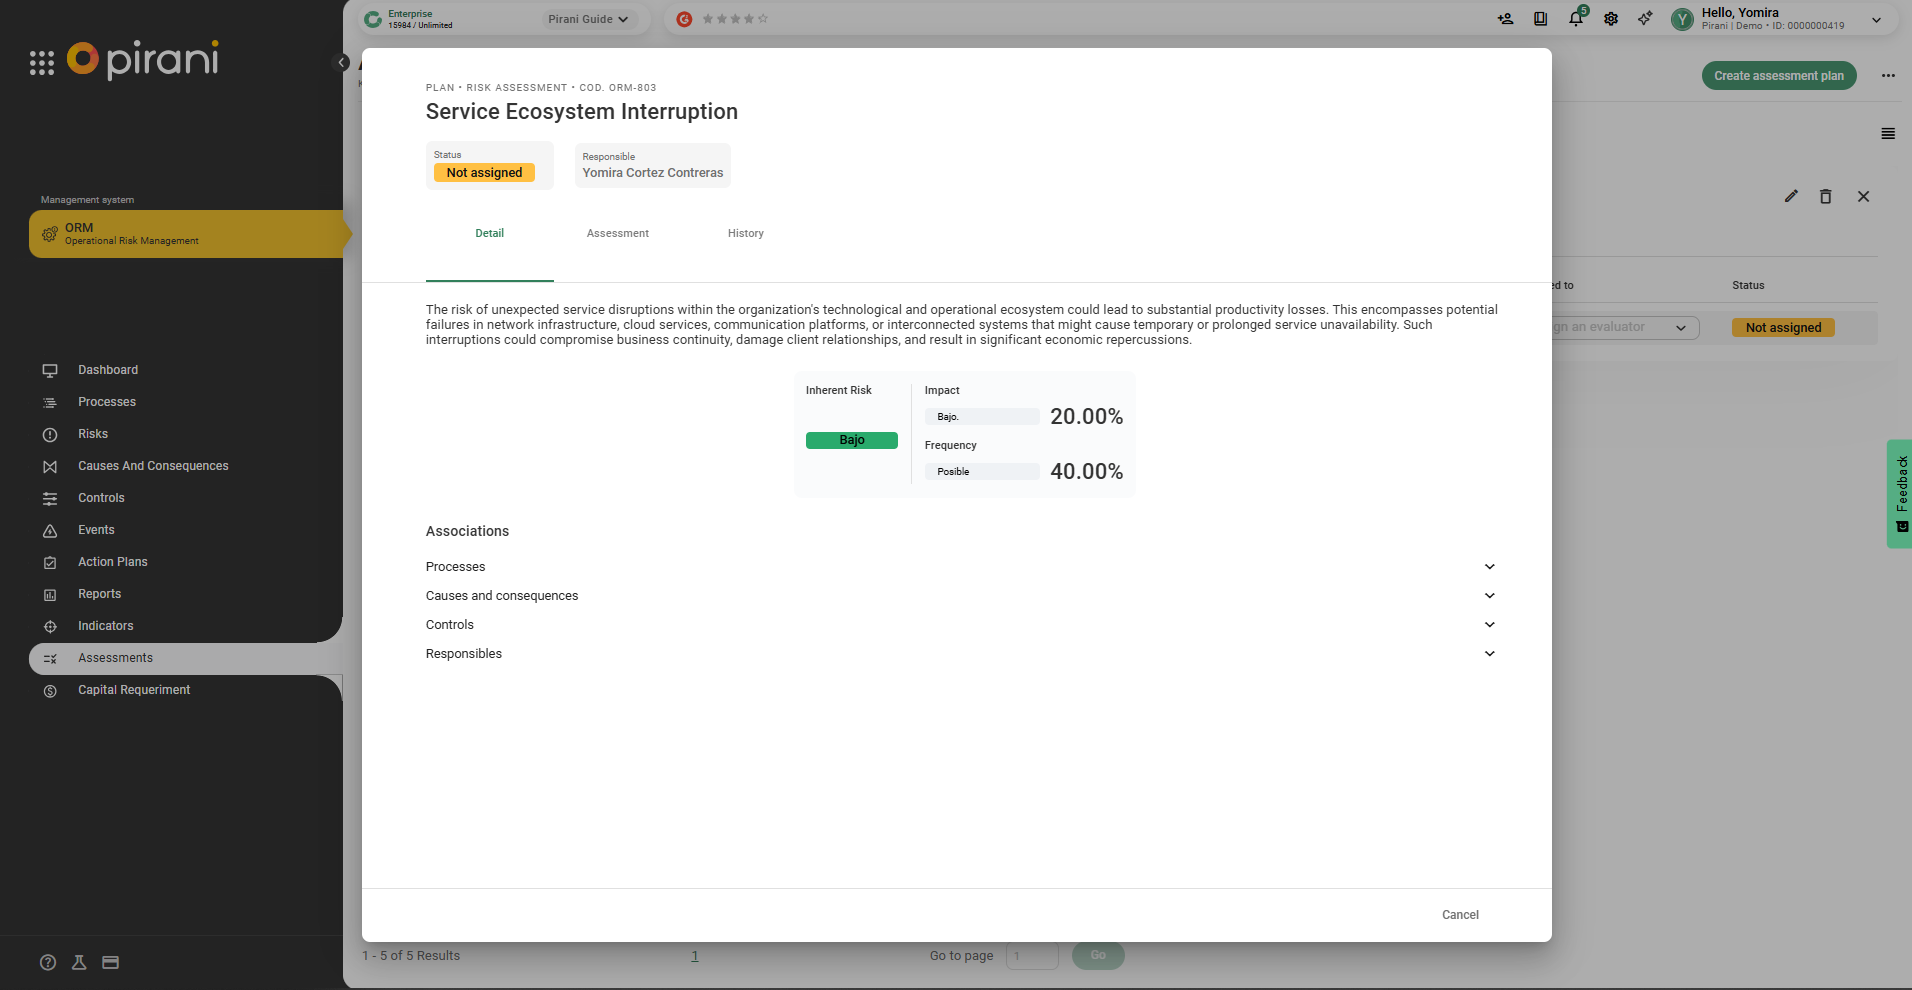
The assessment has three sections:
In Detail: Read the Risk Information and Context, which will help you reassess and rate risks.
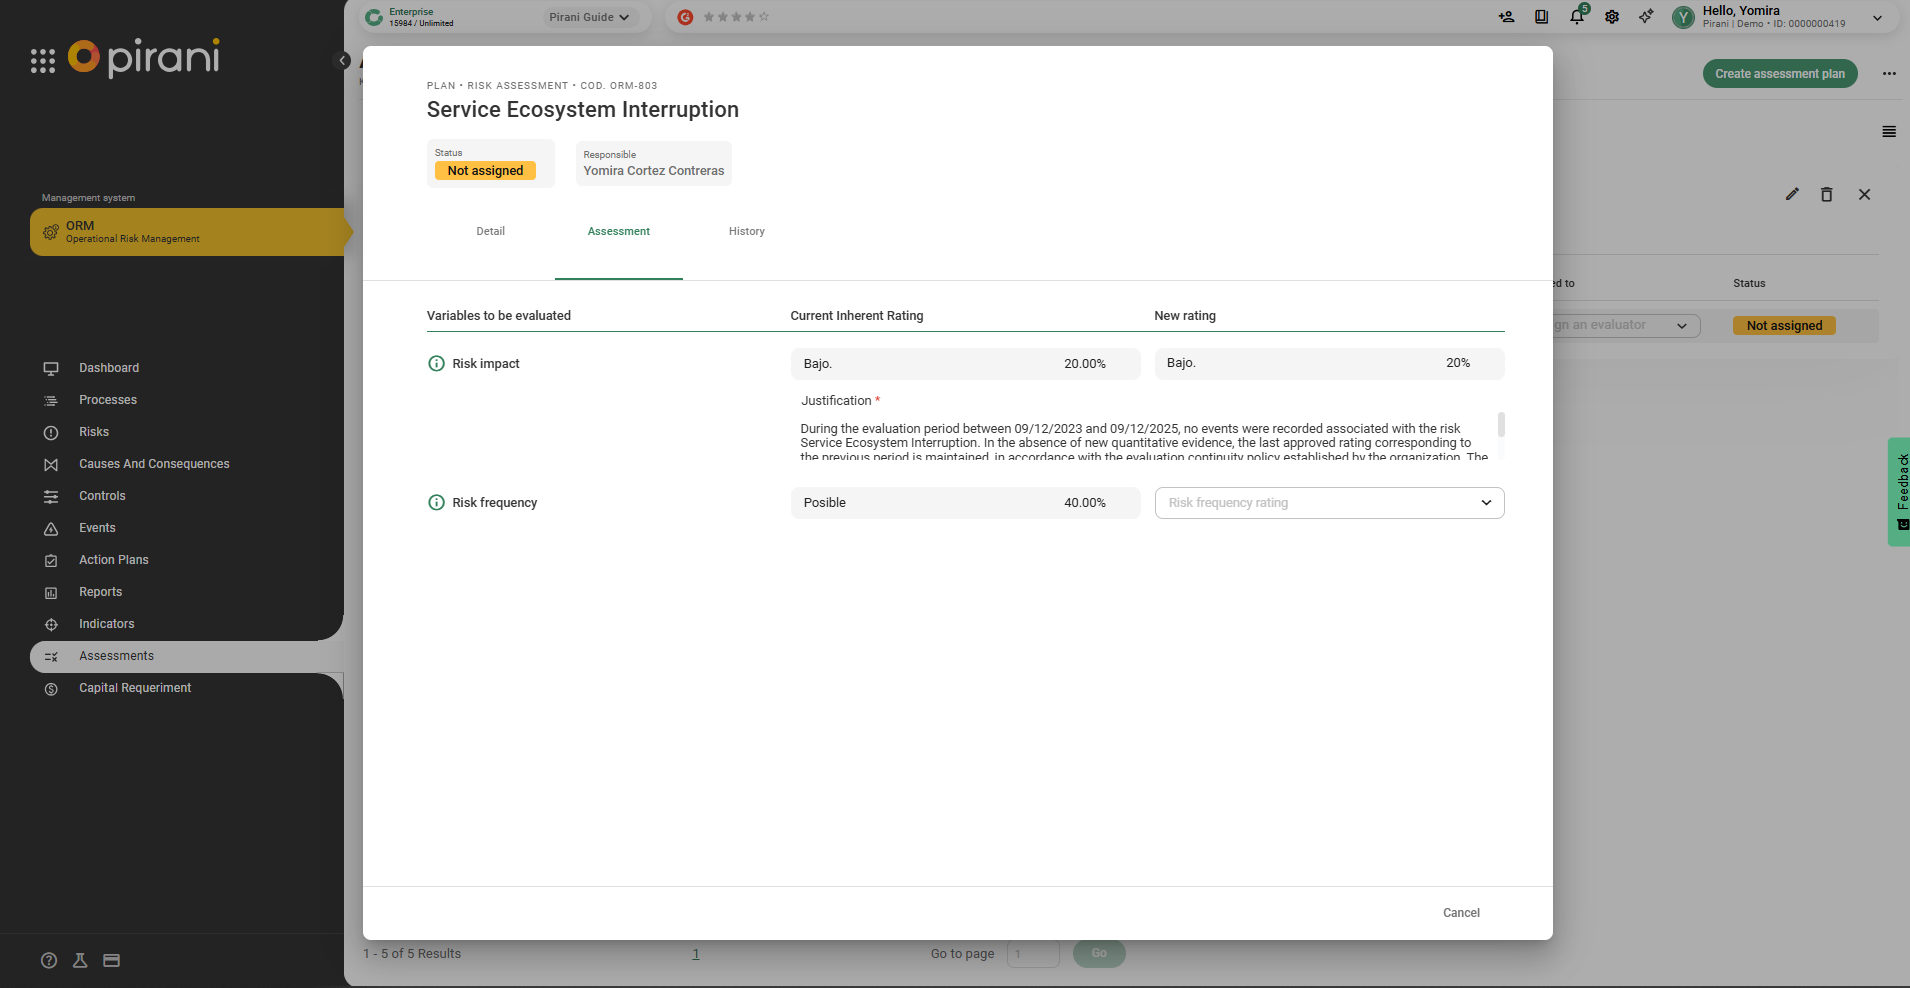
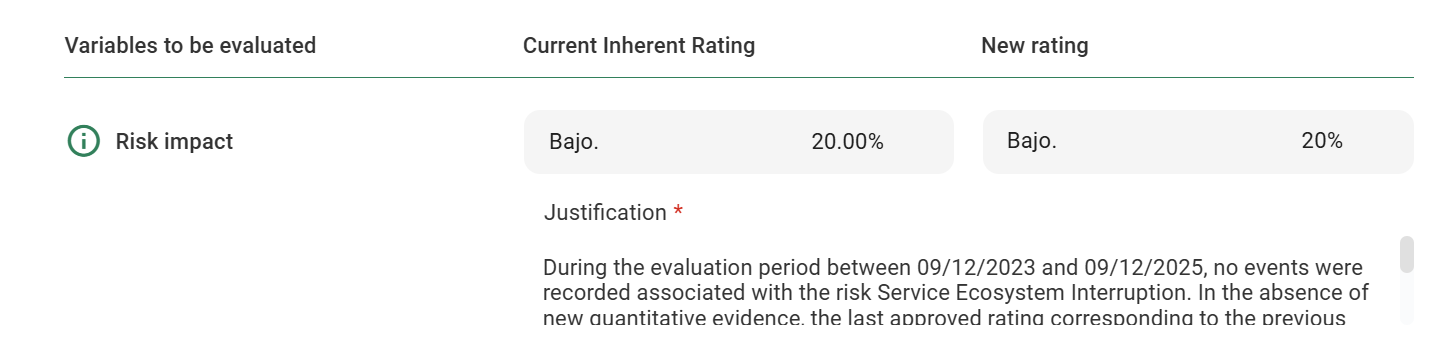
In assessment: Perform the risk assessment by clicking on the "assessment" section, where you will find the impact and frequency of the risk.
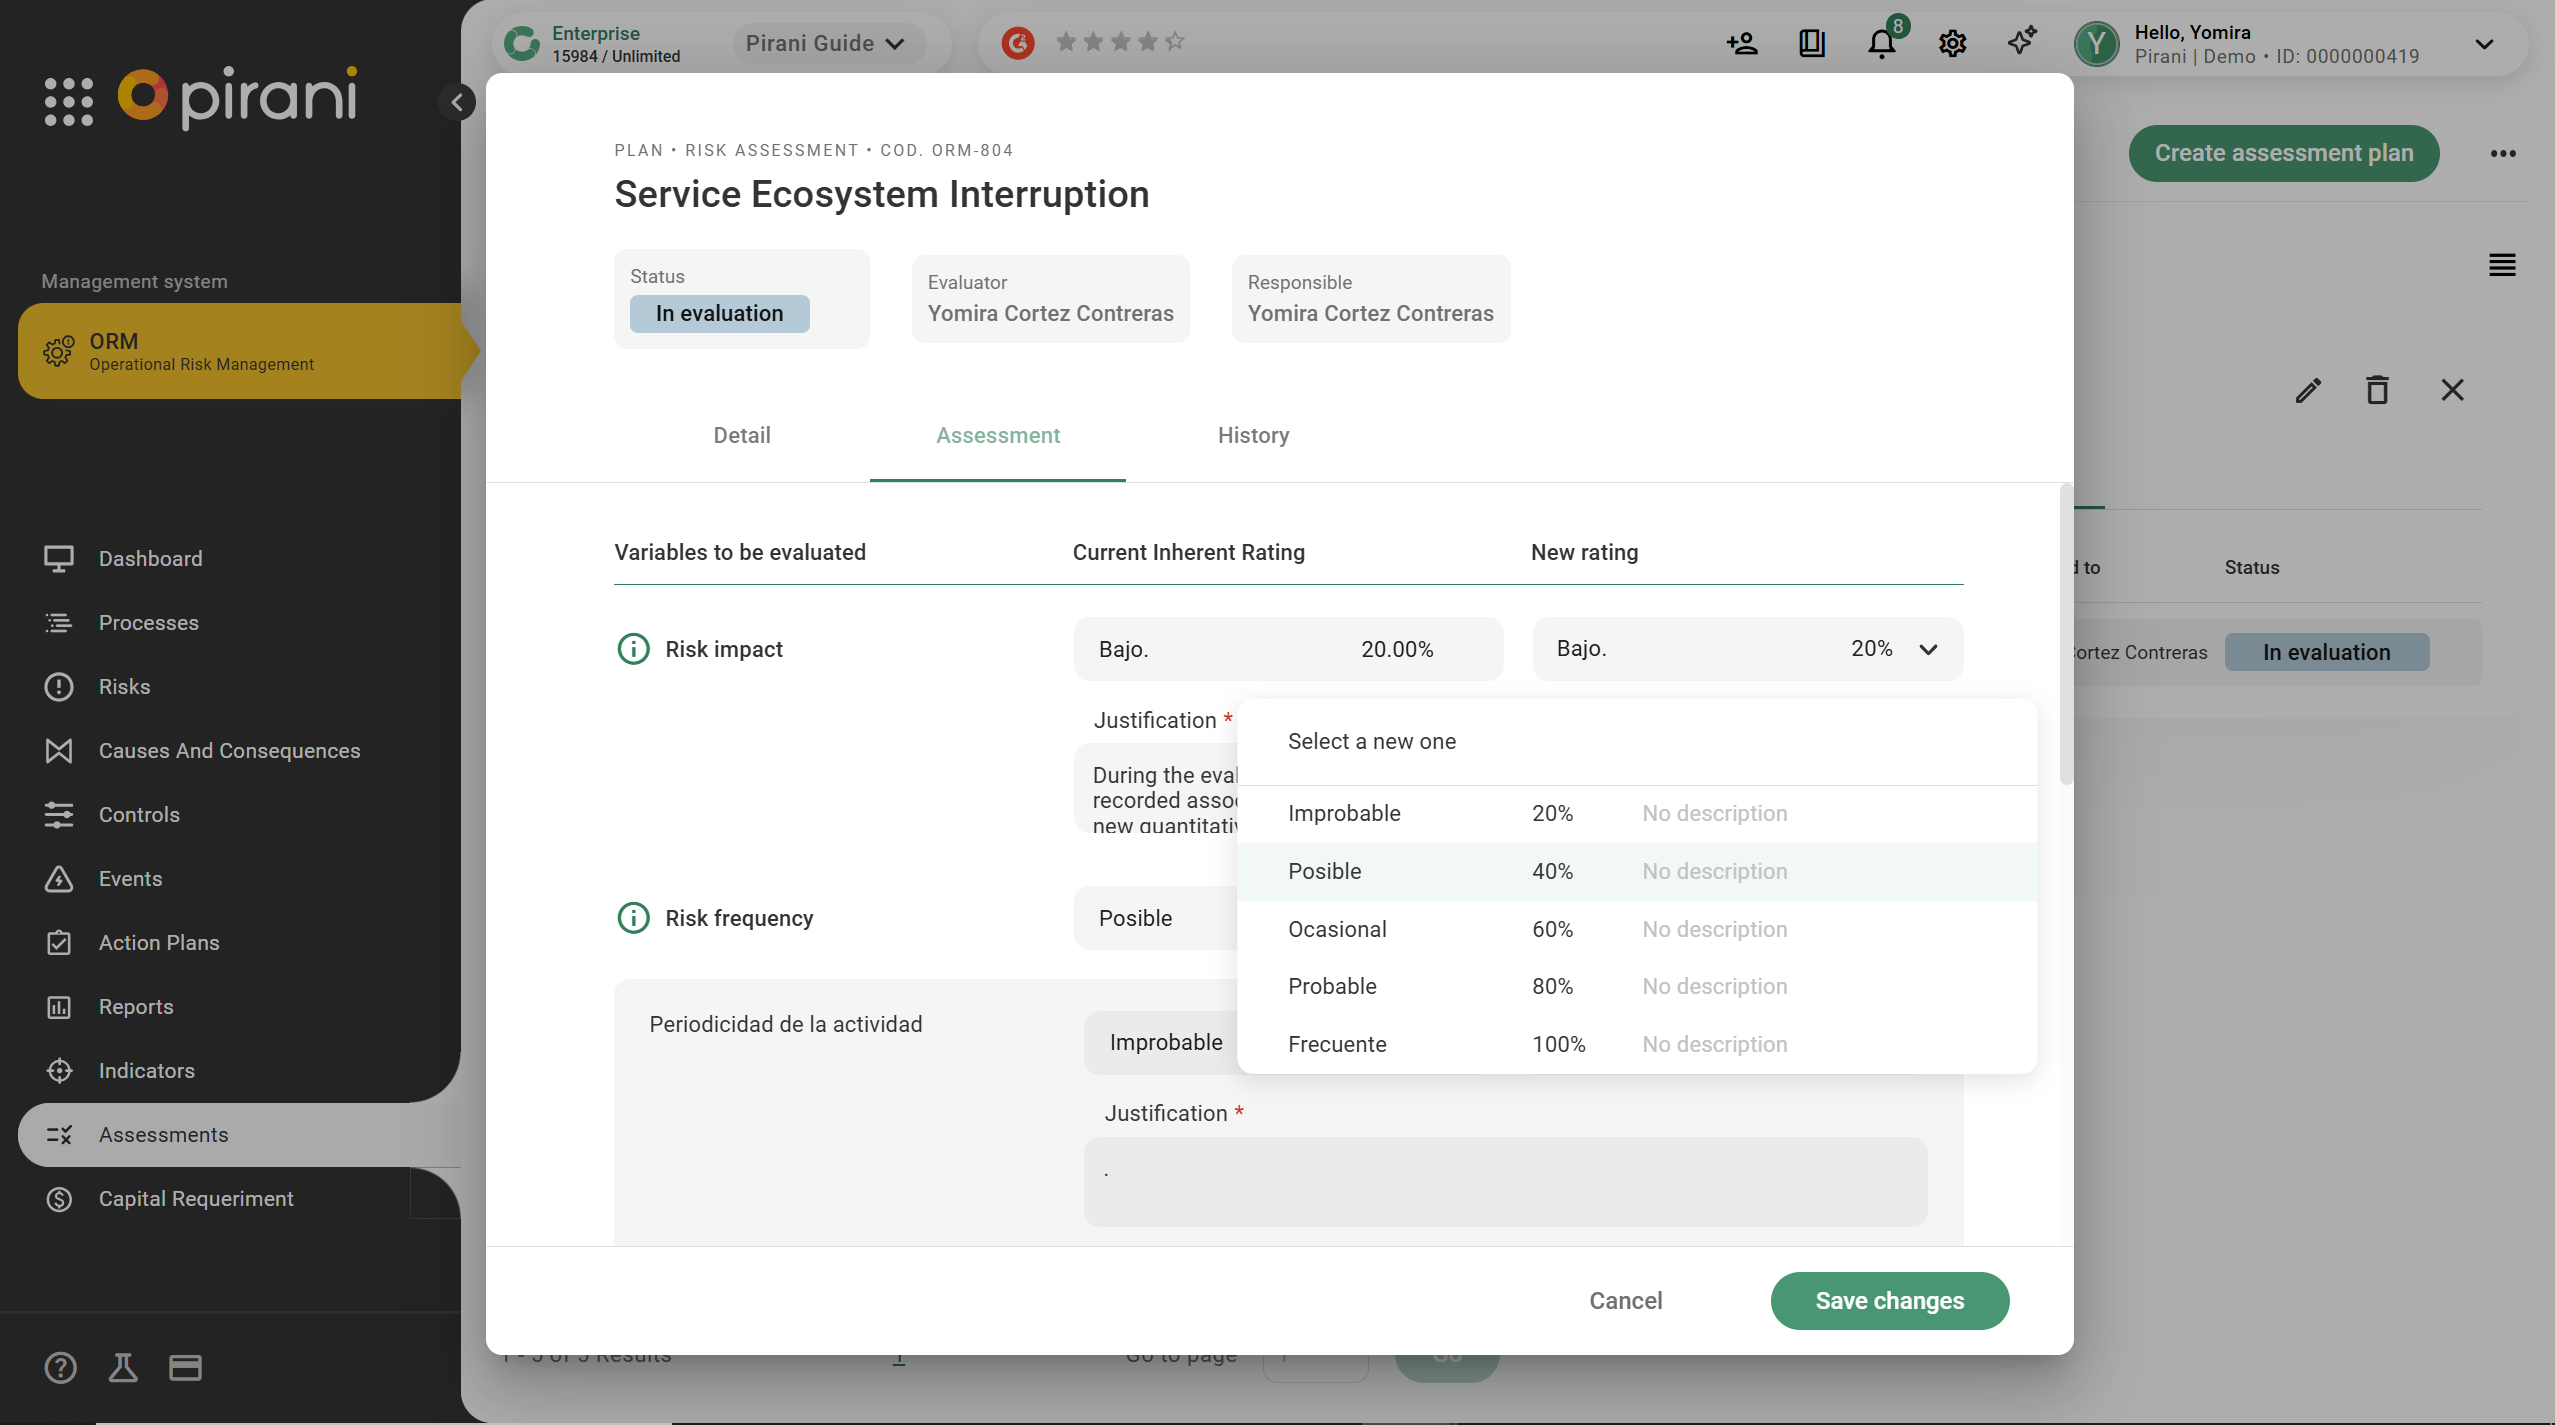
- To rate the risk impact, go to the right and click on the down arrow in the "risk impact rating" box, then click on the down arrow in the "select new" box, there you will see some options according to the assessment method, choose the appropriate rating and justify your choice.
⚠️ Remember to make a justification for each grade assigned.
- To rate the risk frequency, go to the right and click on the down arrow in the "risk frequency rating" box, there you will see some options according to the assessment method, choose the appropriate rating and justify your choice.
After scoring and justifying each criterion, click on the "send to review" button.
With the change in Pirani’s risk parameterization, the “New Quantification-Based Rating” will be generated automatically based on real data.
Therefore, it will no longer be necessary for you to manually fill in the “Risk Impact,” “Risk Frequency,” or “Justification” fields.
Additionally, if you don’t have recorded events, the system will suggest a rating along with a justification. Simply review the recommendation provided by the system, confirm that the data aligns with your context, and approve the re-rating when you consider it appropriate.
If you have questions about how to parameterize your assessments, please refer to our article in the Help Center.
In history: Monitors the actions performed in the assessment since its creation.
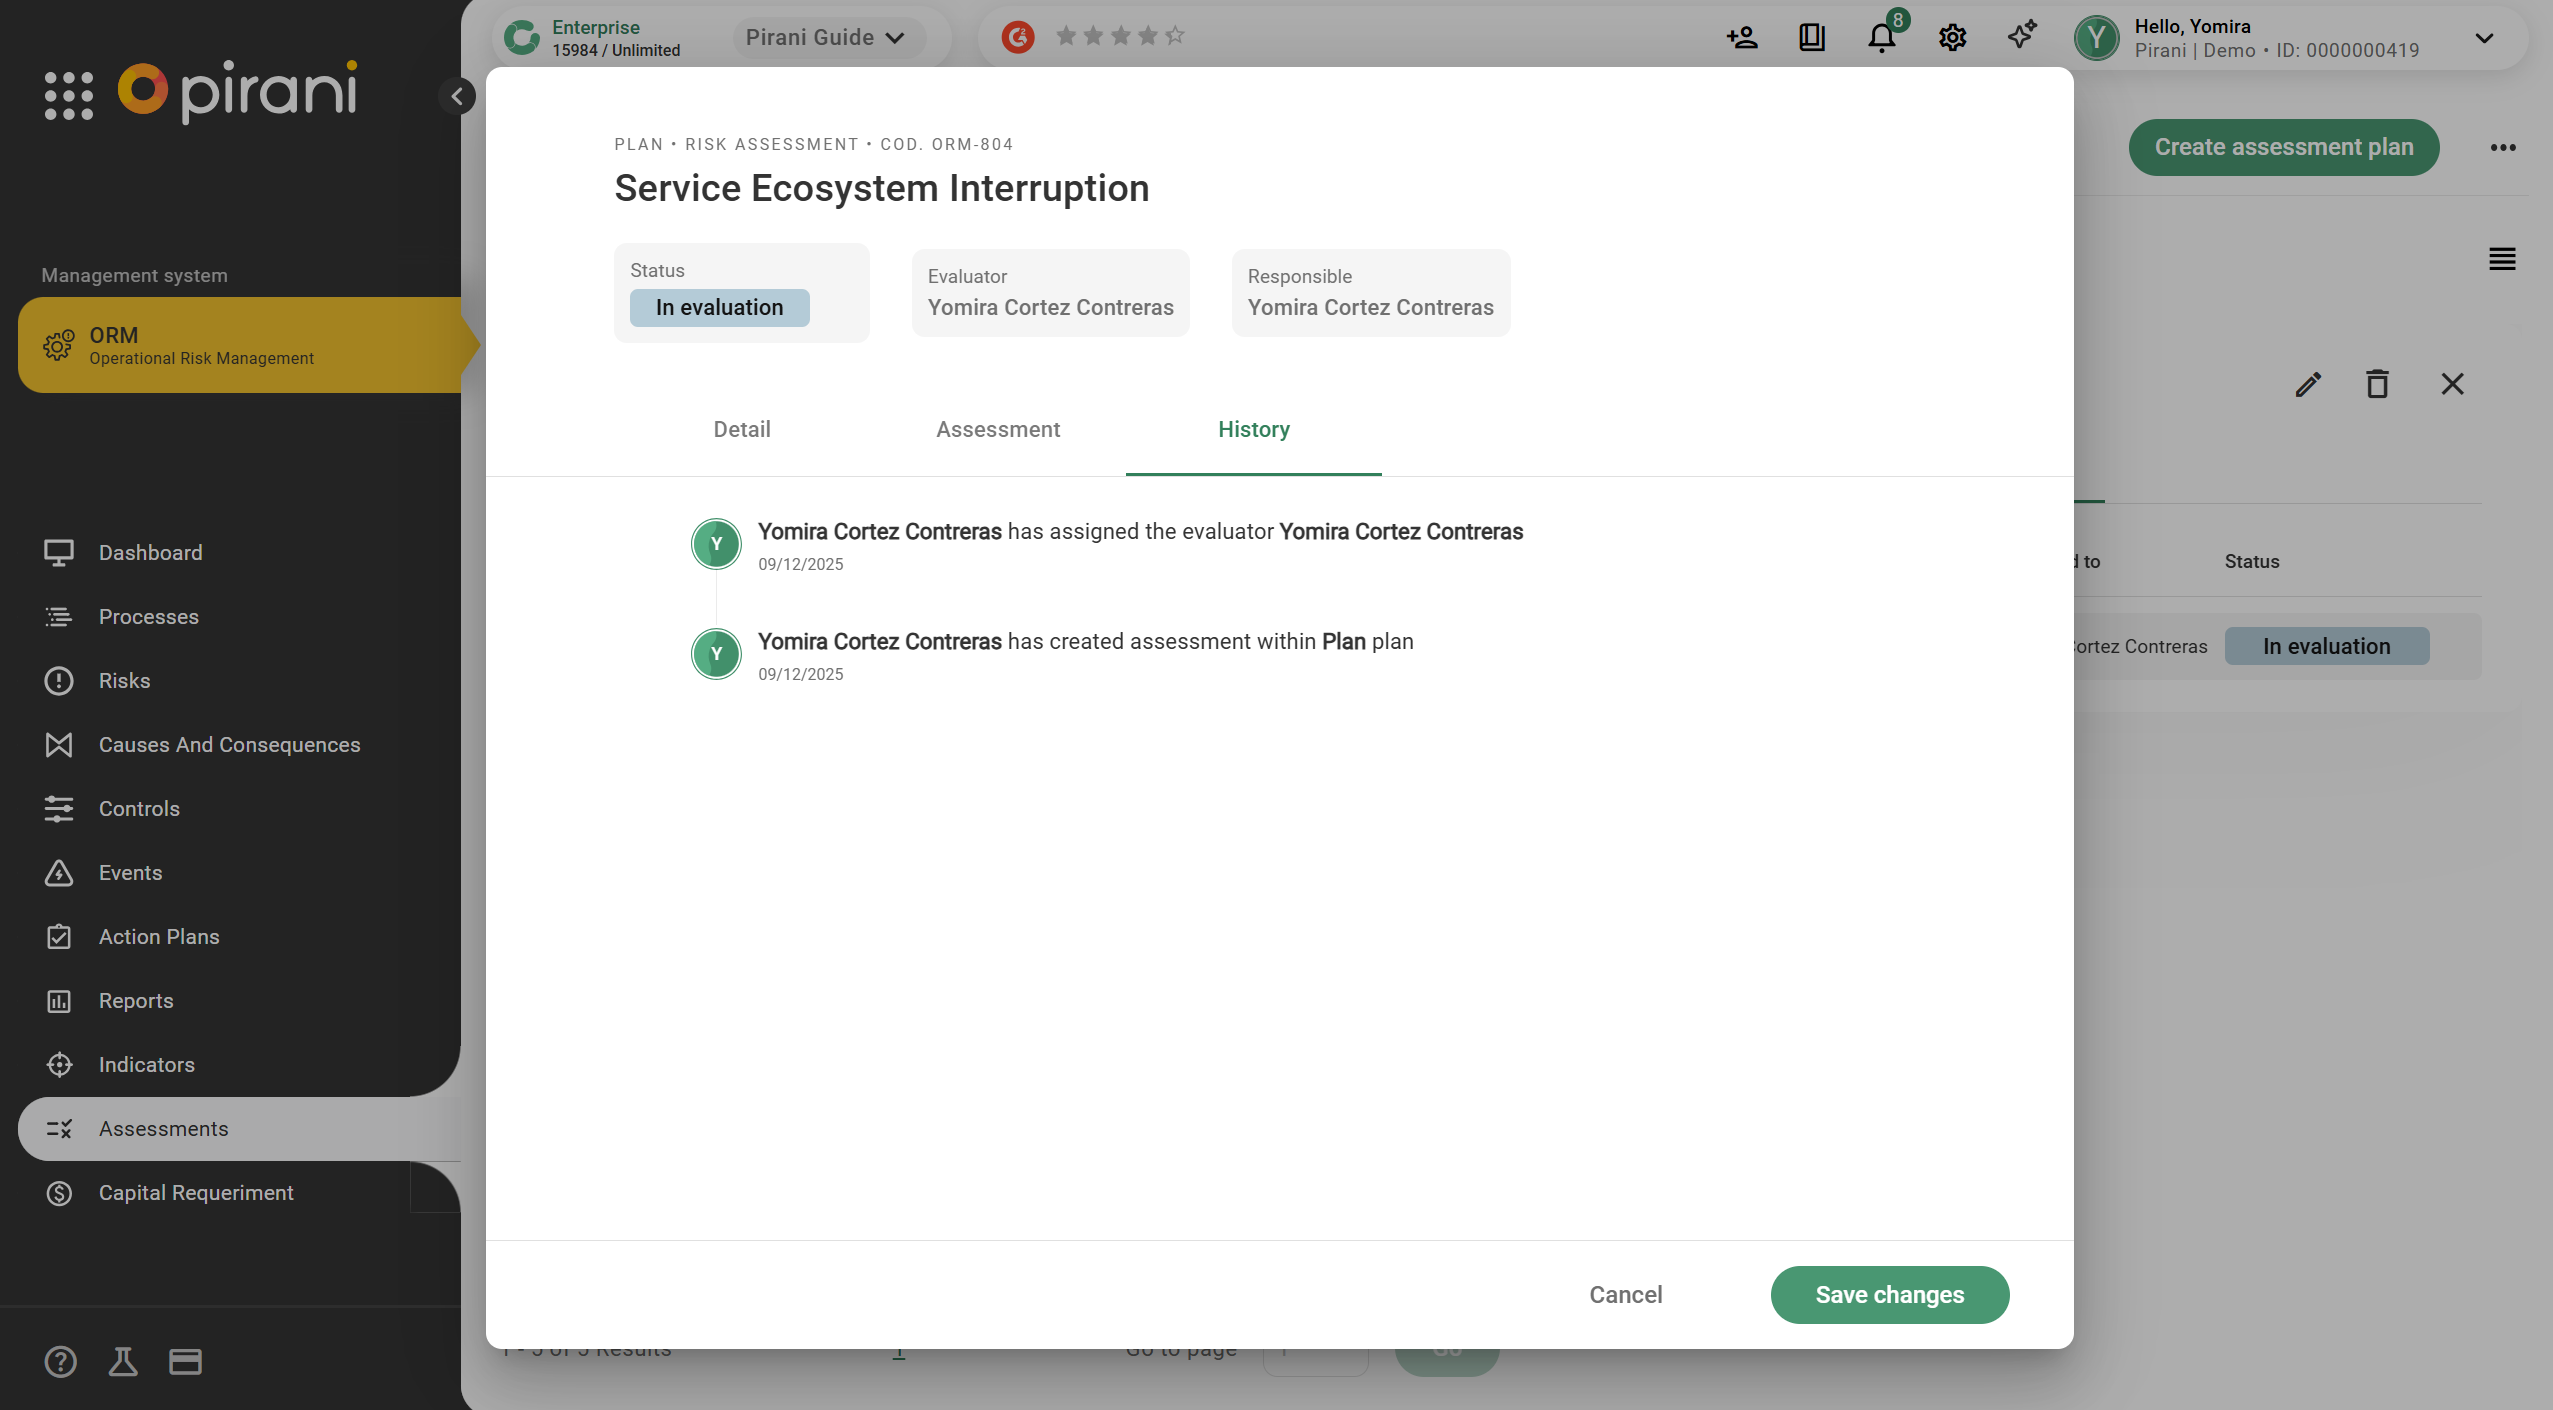
How to review the assigned assessment ?
⚡ If you are responsible for reviewing the assessment you will receive a notification by mail when the risk has been assessed.
To review the assessment, go to the left side of the tool, select the assessment module and click on the assessment plan that appears. Next, a new section will appear on the right side of the tool, where you will find two options, click on the "my assessments" option. Select the risk that appears in review status, then the assessment box will open, click on the "assessment" option and review the criteria and justification of the assessment. Review the criteria and justification of the assessment carefully, then select the option that will give the final status to the assessment.
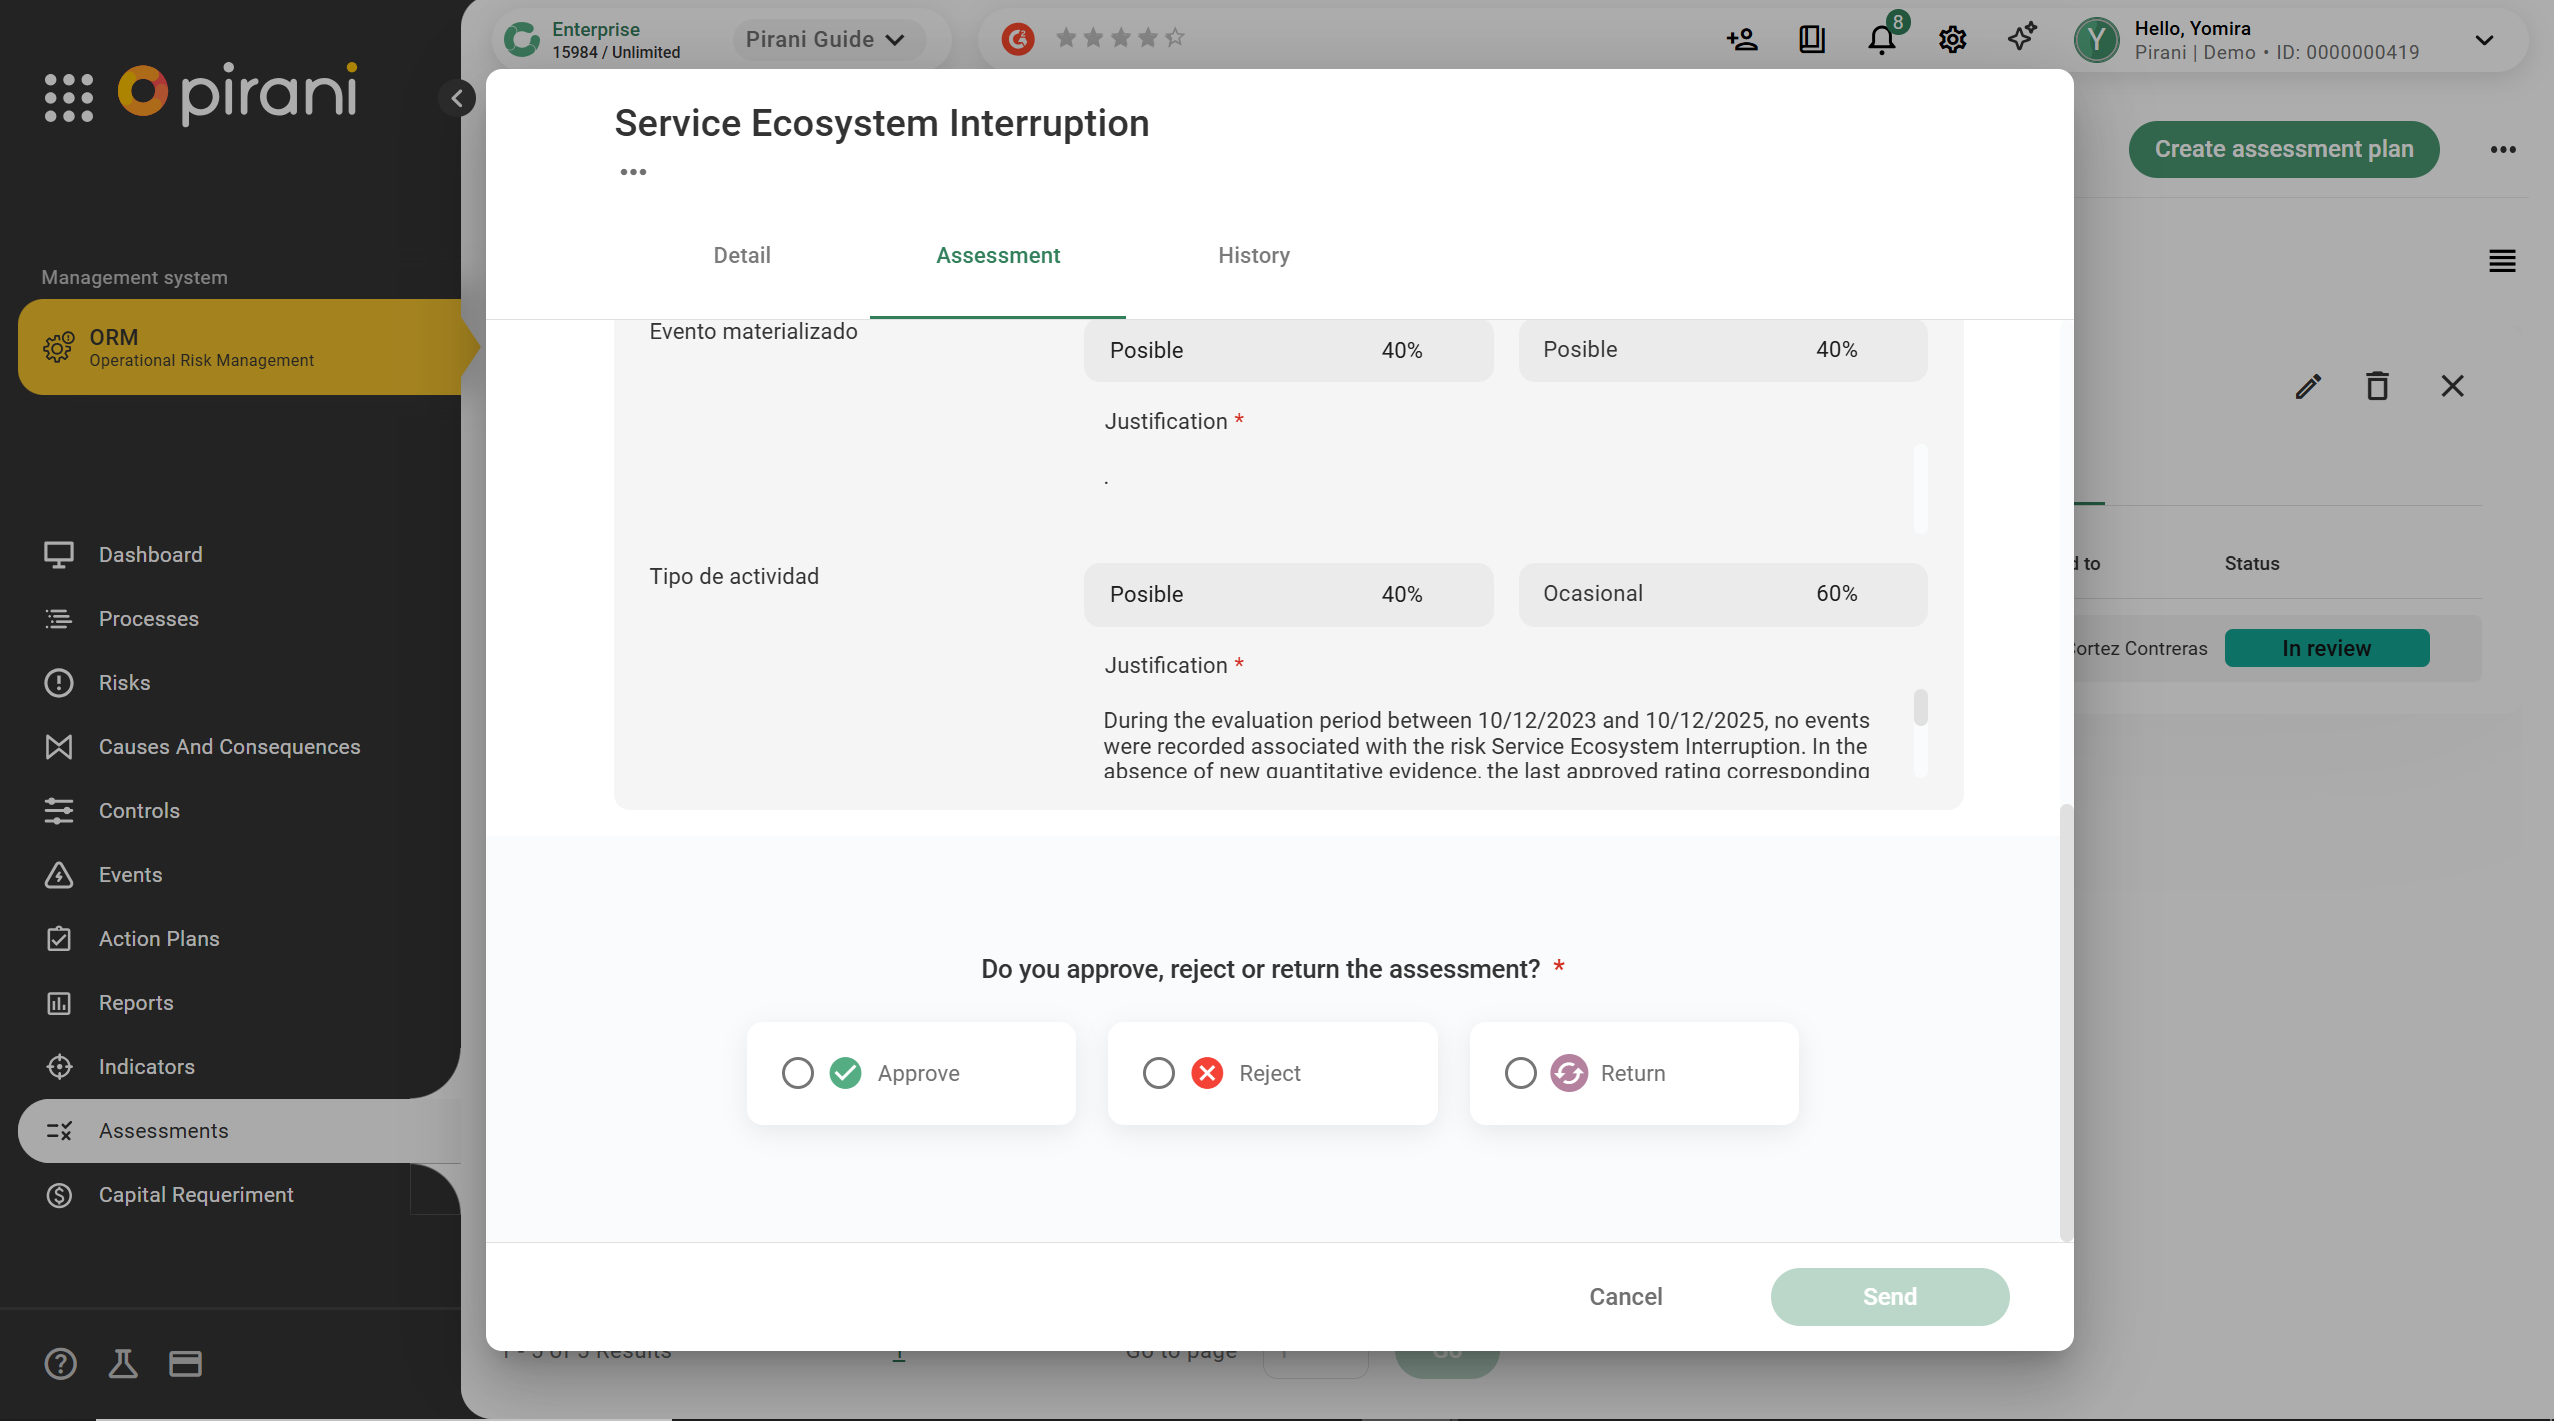
⚠️ Remember to make a justification for your final grade and then submit the answer. %2010.36.07%20a.%20m..png?width=670&name=Captura%20de%20Pantalla%202022-09-29%20a%20la(s)%2010.36.07%20a.%20m..png)
⚡ Remember the status approved or rejected are finalized statuses, because of that the assessed risk will no longer be editable or changeable.