They help you respond promptly to tasks, assignments, or relevant events, improving traceability, collaboration, and operational efficiency.
How to Access Notifications
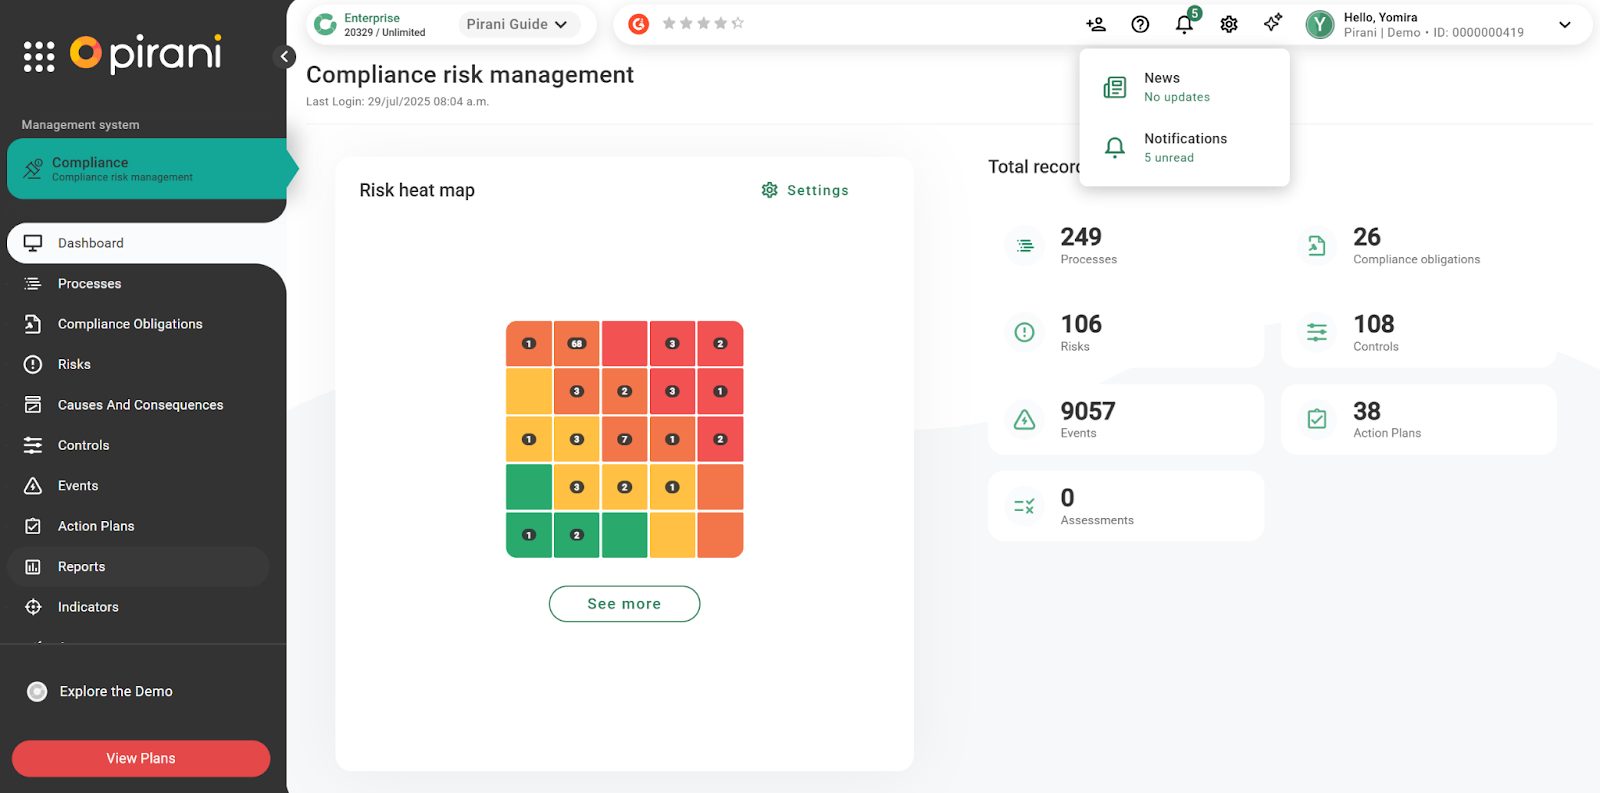
Notifications appear within the platform at the top right corner, represented by a bell icon. If you see a number over the bell, it means you have unread notifications.
Push notifications keep you informed about recent actions related to: events, action plans, indicators, assessments, and standards.
When you click on the bell, a panel will open showing your most recent notifications.
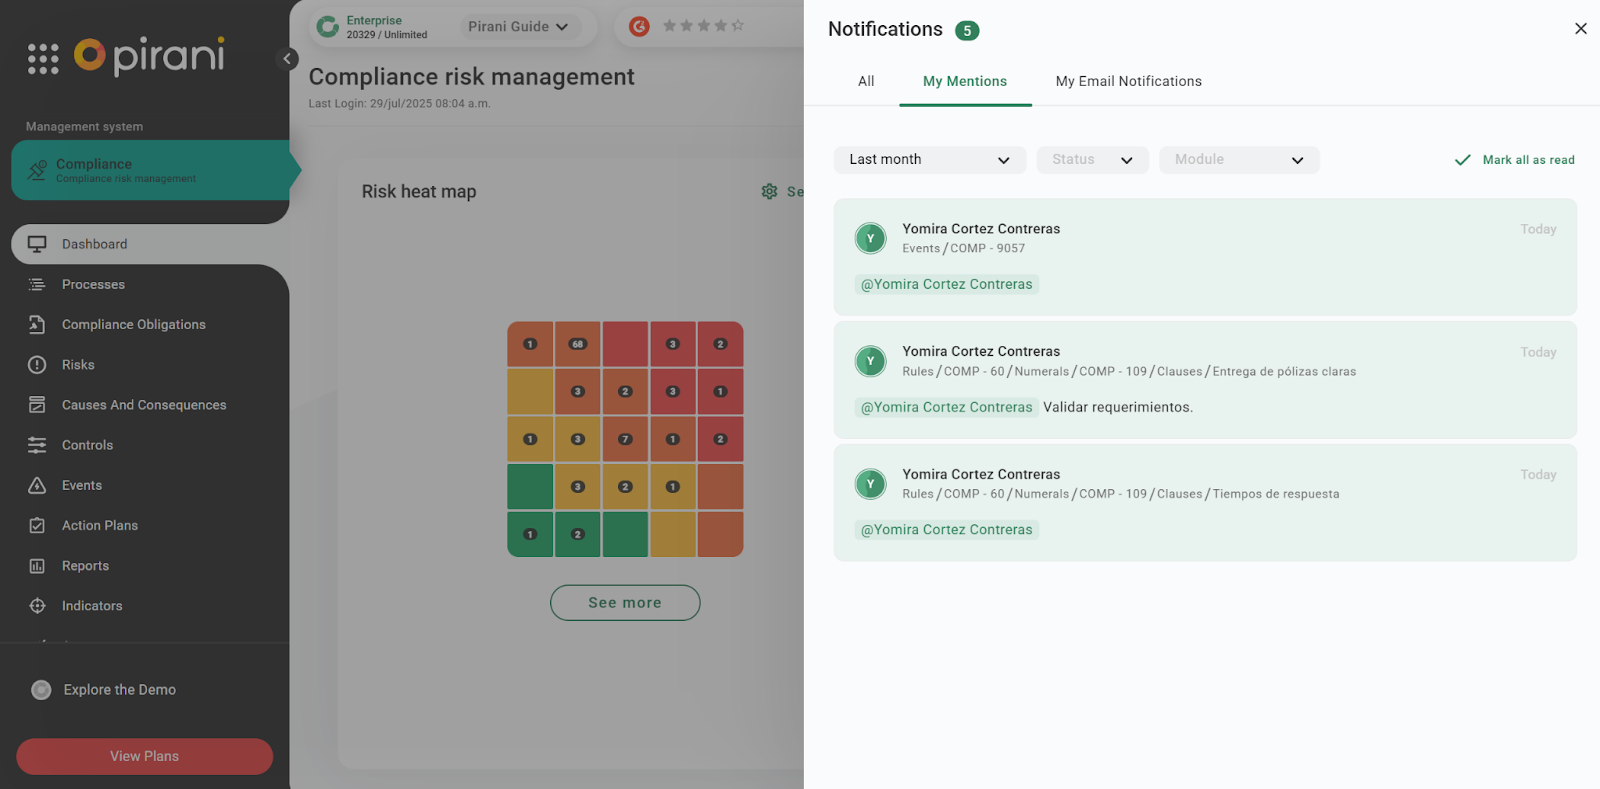
What Are the Three Main Sections Within the Notifications Area?
All: This view centralizes all your notifications, including both automated alerts and mentions, allowing you to filter them according to your needs (by type or module).

My Mentions: Gathers all automatic alerts generated by the system (for example, when you are assigned an action plan or an evaluation is modified). When you are mentioned with an @ in comments or editable fields, you will also automatically receive an email notification.
My Email Notifications: This section collects all automatic alerts generated by the system (for example, when you are assigned an action plan or an evaluation is modified), as well as notifications such as when someone invites you to a responsible group. Clicking on a notification will redirect you to the specific record, enabling immediate action.
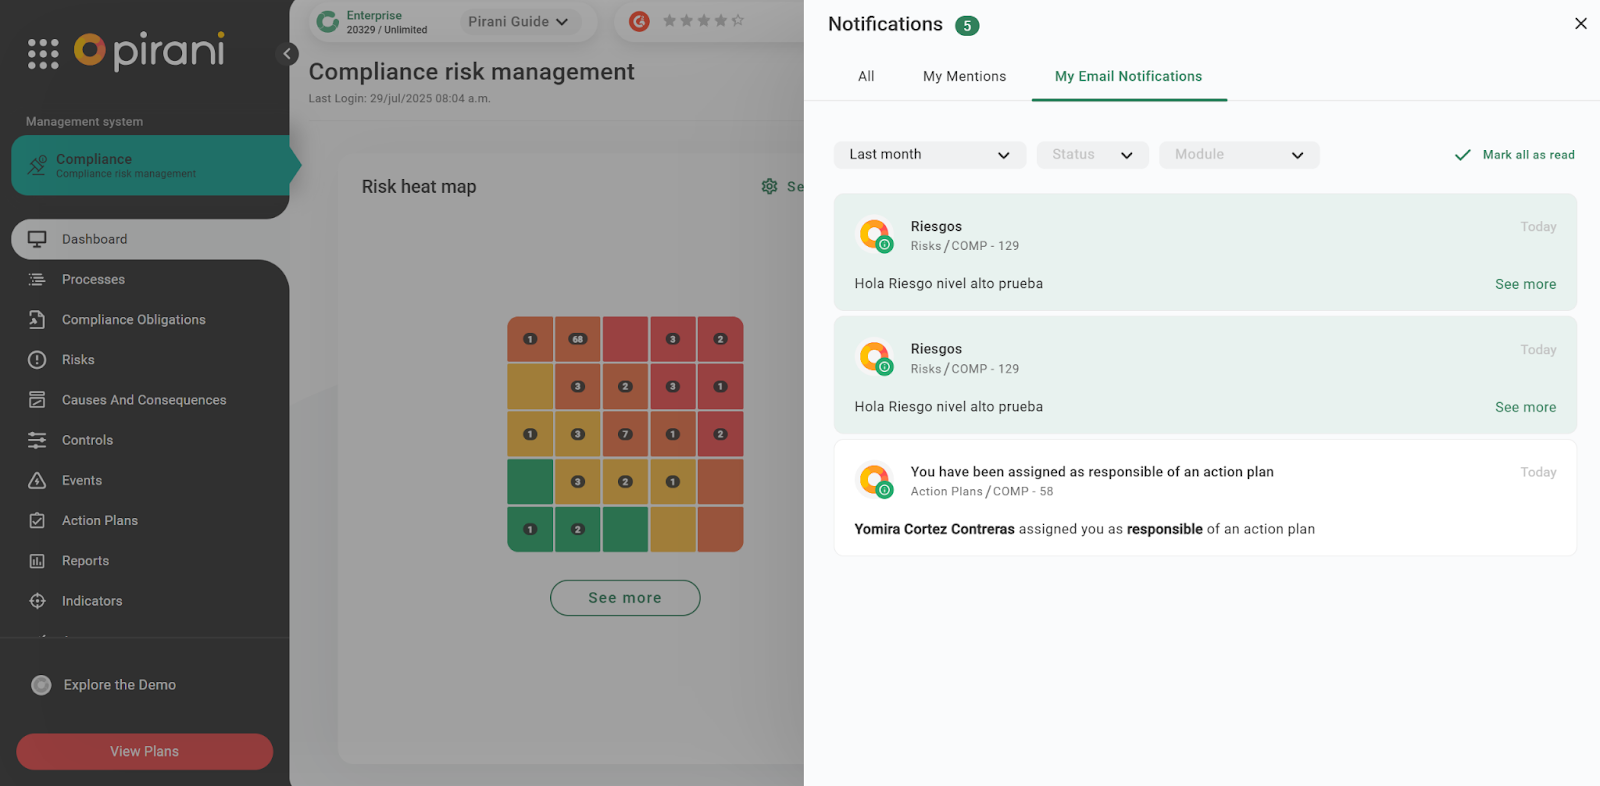
If you want to learn more about a notification, click on “See more” to navigate within the associated context.
Want to learn how to create custom notifications using the Rules Engine?
Check out our step-by-step guide here.